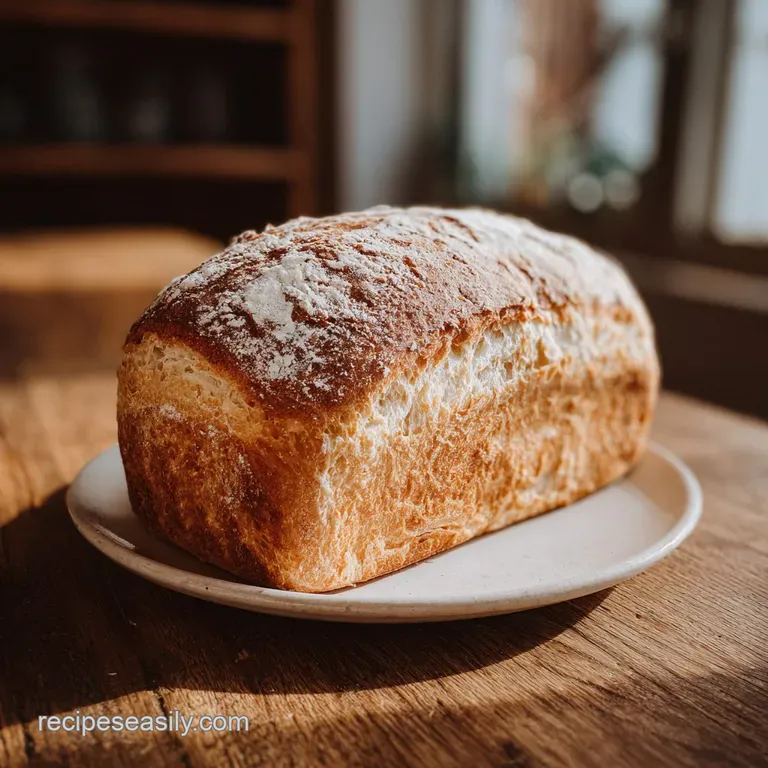
The Easiest Sourdough Discard Sandwich Bread
- Time: Active 15 minutes, Passive 2 hours 15 mins, Total 2 hours 30 mins
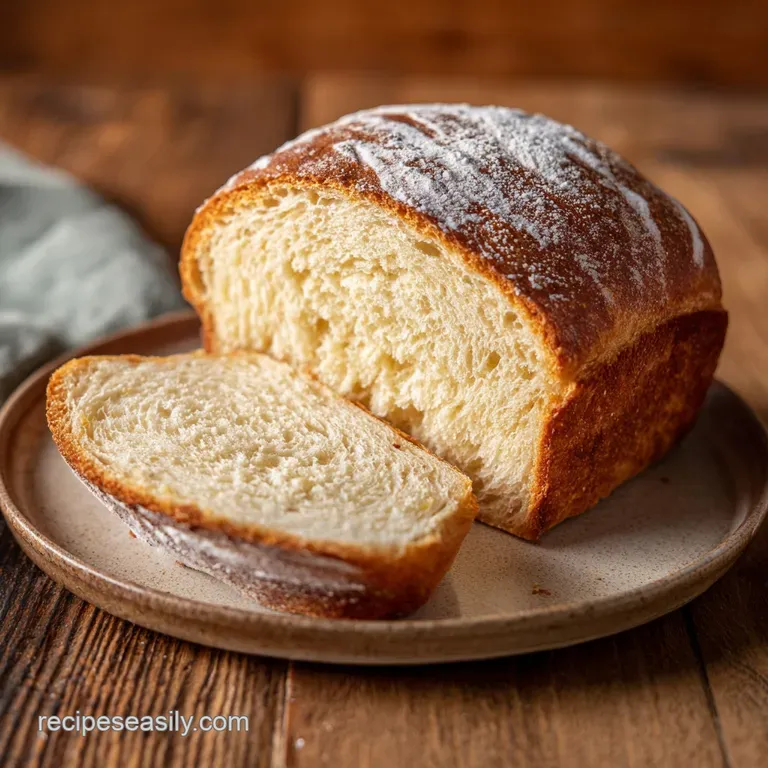
- Flavor/Texture Hook: Shredable, velvety crumb with a subtle sourdough tang
- Perfect for: Busy families, school lunches, and first time bread makers
- Mastering The Easiest Sourdough Discard Sandwich Bread for Busy Mornings
- The Science of the Acid Softened Crumb
- Real World Comparisons for Baking Success
- Sourdough Discard Sandwich Bread Recipe Specs
- Essential Ingredients and Smart Substitutes
- Minimal Gear Needed for Success
- Detailed Steps for a Golden Loaf
- Solving Common Bread Struggles
- Scaling the Recipe Up or Down
- Debunking Kitchen Bread Myths
- Storing Your Loaf and Reducing Waste
- Getting the Perfect Glossy Finish
- Recipe FAQs
- 📝 Recipe Card
Mastering The Easiest Sourdough Discard Sandwich Bread for Busy Mornings
You know that feeling when you look at your sourdough starter and feel a pang of guilt because you just can't commit to a 3 day baking project? I've been there more times than I can count. My fridge used to be a graveyard of half filled jars of discard because I thought "real" sourdough had to be a whole ordeal.
Then, one Tuesday morning when we were completely out of bread for school lunches, I decided to stop being a purist and start being practical.
I threw my discard into a bowl with some warm milk and a packet of instant yeast, praying for a miracle. The result wasn't just "okay" bread - it was the softest, most cloud like loaf that actually stayed fresh on the counter for four days.
I realized then that discard is a secret weapon for texture, not just a leftover to be tossed. If you've ever felt intimidated by hydration percentages or folding schedules, this is your permission slip to just bake a really great loaf of bread.
We’re going for that classic "shredable" texture where the bread pulls apart in soft layers. It’s the kind of bread that makes a grilled cheese feel like a luxury meal.
Trust me, once you see how easy it is to turn that "waste" into a golden crusted masterpiece, you’ll never look at your discard jar the same way again.
The Science of the Acid Softened Crumb
Acidic Conditioning: The lactic acid in the sourdough discard acts as a natural dough conditioner, breaking down tough gluten bonds to create a softer, more velvety texture.
Stale Resistance: This lower pH environment naturally inhibits mold growth and keeps the starch from recrystallizing, which is why this loaf stays soft far longer than standard white bread.
Chef's Tips
- The Finger Poke Test: To know if your dough is ready to bake, poke it gently with a floured finger; it should spring back slowly and leave a slight indentation.
- Brush with Milk: For a softer, matte crust that doesn't shatter when you bite it, brush the top with milk instead of egg wash before baking.
Real World Comparisons for Baking Success
Before you start mixing, it’s helpful to see how this hybrid method stacks up against the traditional way of doing things. It helps manage expectations on flavor versus time.
| Feature | This Hybrid Recipe | Traditional Sourdough |
|---|---|---|
| Total Wait Time | 2 hours 30 mins | 12 to 24 hours |
| Crumb Texture | Tight, soft, and uniform | Large, airy holes (open crumb) |
| Sourness Level | Mild and buttery | Distinctly sharp and tangy |
Choosing this path means you get the best of both worlds. You get the nutritional perks and flavor of the fermented flour without having to plan your entire weekend around a timer. It's the ultimate hack for a functional kitchen.
Sourdough Discard Sandwich Bread Recipe Specs
To get this right, we need to focus on the balance of fats and hydration. We are using whole milk and butter to ensure that "sandwich bread" feel rather than a crusty boule.
Component Deep Dive
| Ingredient | Science Role | Pro Secret |
|---|---|---|
| Sourdough Discard | Flavor & Acidity | Use it cold from the fridge to help control dough temp. |
| Instant Yeast | Primary Leavening | Ensures a reliable, tall rise regardless of discard activity. |
| Bread Flour | Protein Structure | High protein (12%+) creates the strength needed for a tall loaf. |
| Honey | Moisture Retention | Honey is hygroscopic, meaning it pulls moisture from the air to keep bread soft. |
Essential Ingredients and Smart Substitutes
Gather these items before you begin. I always weigh my flour and discard if I can, but volume measurements work here too if you're careful not to pack the flour down.
- 1 cup (227g) sourdough discard, unfed: Why this? Adds the signature tang and helps the bread stay fresh longer.
- Substitute: 1/2 cup flour + 1/2 cup water (but you'll lose the flavor).
- 1 cup (240ml) warm whole milk (105°F): Why this? The fats in milk create a much more tender crumb than water.
- Substitute: Oat milk or almond milk for a dairy-free version.
- 2.25 tsp instant yeast: Why this? Provides the "oomph" for a fast rise in under two hours.
- Substitute: Active dry yeast (just bloom it in the warm milk first).
- 2 tbsp (42g) honey: Why this? Adds a hint of sweetness and helps with browning.
- Substitute: Maple syrup or granulated sugar.
- 4 tbsp (56g) unsalted butter, softened: Why this? Coats gluten strands to keep the bread from becoming "chewy".
- Substitute: Coconut oil (solidified) or vegan butter.
- 3.25 cups (390g) bread flour: Why this? Gives the bread enough "muscle" to hold its shape.
- Substitute: All purpose flour (the loaf will be slightly shorter).
- 1.5 tsp (9g) fine sea salt: Why this? Enhances flavor and regulates the yeast activity.
- Substitute: Table salt (use slightly less as it's denser).
- 1 tbsp (14g) melted butter: Why this? Brushing this on after baking keeps the crust soft.
If you find yourself with extra discard and a sweet tooth later, you can use a similar logic for my Banana Bread Recipe Moist which also benefits from that sourdough acidity.
Minimal Gear Needed for Success
You don't need a fancy steam injection oven or a proofing basket for this one. A standard 9x5 inch loaf pan is the main requirement. While a stand mixer makes the kneading easier, I've made this by hand many times when I didn't want to clean the heavy bowl.
If you're kneading by hand, just be prepared for a bit of a workout it takes about 10 minutes to reach that smooth, elastic stage. A digital thermometer is also a lifesaver to check the internal temp, ensuring you don't pull out a gummy loaf.
Detailed Steps for a Golden Loaf
Phase 1: Mixing and Kneading
- Combine liquids. Whisk the 1 cup warm milk, 2 tbsp honey, and 2.25 tsp instant yeast in your mixer bowl.
- Add the "tang". Stir in the 1 cup sourdough discard until it's mostly broken up. Note: Tiny lumps are okay; they will disappear during kneading.
- Mix the base. Add the 3.25 cups bread flour and 1.5 tsp salt. Use the dough hook on low speed until a shaggy dough forms.
- Incorporate fat. Add the 4 tbsp softened butter one tablespoon at a time while the mixer is running.
- Develop gluten. Increase to medium speed and knead for 6 to 8 minutes until the dough is smooth and clears the sides.
Phase 2: The First Rise
- Proof. Place the dough in a greased bowl, cover it, and let it sit in a warm spot for about 60 minutes until it has doubled in size.
Phase 3: Shaping and Final Proof
- Shape. Turn the dough onto a lighty floured surface and press into a rectangle, then roll it up tightly like a sleeping bag.
- Second Rise. Place the log into a greased 9x5 inch loaf pan. Cover and let rise for another 45 minutes until the dough is 1 inch above the pan rim.
Phase 4: Baking to Perfection
- Bake. Slide into a preheated 350°F (180°C) oven for 30 to 35 minutes until the top is deeply golden brown.
- Finish. Remove from the oven and immediately brush with 1 tbsp melted butter. Let it cool in the pan for 10 minutes before moving to a wire rack.
Solving Common Bread Struggles
Bread can be temperamental, especially when you're dealing with the variable acidity of sourdough discard. But don't worry, most issues are easily fixed.
Why Your Loaf Stayed Flat
If your bread didn't get that beautiful dome, your yeast might be expired, or your milk was too hot and killed it. Make sure the milk feels like lukewarm bath water, not a hot tea. Also, if your kitchen is cold, the rise can take twice as long.
Try putting the dough in the oven with just the light on to create a cozy proofing box.
| Problem | Root Cause | Solution |
|---|---|---|
| Dense Crumb | Under kneaded dough | Knead until it passes the "windowpane test" (stretches thin without tearing). |
| Mushroom Top | Over proofing | Score the top with a sharp knife to control the expansion. |
| Crust is too hard | Oven too dry | Place a small pan of water on the bottom rack during baking. |
Common Mistakes to Avoid
- ✓ Never skip the second rise; this is where the airy "sandwich" texture is born.
- ✓ Avoid adding too much extra flour during kneading; a slightly tacky dough is better than a dry one.
- ✓ Don't slice the bread while it's hot! The structure needs to set or it will turn gummy.
- ✓ Check your yeast freshness by blooming it in a little warm water first if you're unsure.
- ✓ Ensure the butter is truly softened (room temp) so it emulsifies into the dough easily.
Scaling the Recipe Up or Down
If you have a massive family, you can easily double this recipe. Just make sure your stand mixer can handle nearly 7 cups of flour! When doubling, I suggest using two separate loaf pans rather than one giant one to ensure the middle cooks through.
If you're cutting the recipe in half, a 4x8 inch "junior" loaf pan works best. For the yeast, even a half batch usually needs about 1.5 tsp to maintain that fast rise time we’re looking for.
This bread is so versatile that it makes the absolute best base for a Chicken Salad Recipe. The slight tang of the bread cuts through the creamy dressing perfectly.
Debunking Kitchen Bread Myths
One common misconception is that you must use "fed" or active starter for the bread to rise. That’s simply not true when you’re using instant yeast as a backup! The discard is there for flavor and texture, while the commercial yeast does the heavy lifting. Another myth is that you can't over knead by hand.
While it's hard to do, if the dough starts feeling tough and begins to tear, give it a 10 minute rest to relax the gluten before continuing.
Storing Your Loaf and Reducing Waste
Once your bread is completely cool, store it in an airtight bag or bread box at room temperature for up to 5 days. Whatever you do, don't put it in the fridge! The refrigerator actually accelerates the staling process through a process called starch retrogradation.
If you find yourself with a few dry slices at the end of the week, don't toss them. Sourdough discard bread makes world class French toast because it holds its shape even when soaked in custard. You can also cube the leftovers and toss them with olive oil and herbs for the crunchiest croutons you've ever had.
If you want to freeze it, slice the loaf first, wrap it tightly in plastic, and then foil. You can pop a single slice straight from the freezer into the toaster whenever you need a quick snack.
Getting the Perfect Glossy Finish
For that "bakery window" look, the finish is everything. Brushing with melted butter right out of the oven is the classic move for a soft, savory crust. If you want something a bit different, try brushing with honey water (equal parts honey and warm water) for a sticky, sweet sheen that's incredible for toast.
For a rustic look, dust the top of the loaf with a little extra bread flour right before it goes into the oven. This creates a beautiful contrast against the dark golden crust.
No matter how you finish it, the real joy is that first slice. The way the butter melts into the warm, tangy crumb is a reward that no store-bought loaf can ever match. It's simple, it's reliable, and it's the perfect way to give your sourdough discard a second life.

Recipe FAQs
Do I need an active, recently fed sourdough starter for this recipe?
No, unfed discard is specifically used. The discard provides the necessary acidity and flavor conditioning, while the instant yeast handles the primary, fast lift.
How do I achieve the soft, shreddable texture described?
Incorporate fat and avoid over proofing. Use whole milk and butter, and knead until the dough is smooth, ensuring the gluten develops well enough to support the high hydration.
Can I substitute the instant yeast with active dry yeast?
Yes, but you must bloom the active dry yeast first. Dissolve the active dry yeast in the warm milk mixture for about five minutes until foamy before adding the remaining ingredients.
How long does this sandwich bread stay soft compared to regular white bread?
It stays fresh significantly longer, up to four days at room temperature. The lactic acid from the discard lowers the pH, which naturally inhibits starch recrystallization and mold growth.
How do I store the finished loaf to maintain freshness?
Store it airtight at room temperature, never in the refrigerator. Refrigeration accelerates the staling process; an airtight bag in a bread box is ideal.
What temperature should the milk be for mixing?
Aim for 105°F (40°C). This temperature optimally activates the instant yeast without scalding it, ensuring a reliable initial rise.
How long should I knead this dough by hand?
Knead vigorously for about 10 minutes. You are looking for the dough to become smooth and elastic, pulling away cleanly from your hands.
Easiest Discard Sandwich Bread

Ingredients:
Instructions:
Nutrition Facts:
| Calories | 201 calories |
|---|---|
| Protein | 5.3g |
| Fat | 5.2g |
| Carbs | 31.8g |
| Fiber | 1.1g |
| Sugar | 3.6g |
| Sodium | 269mg |
