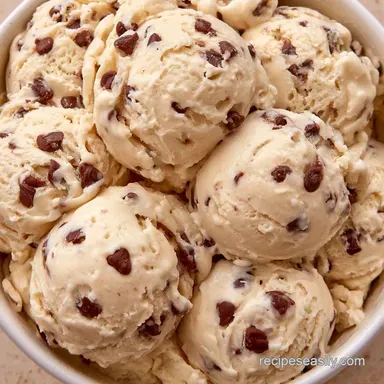
Chocolate Chip Ice Cream in 30 Minutes
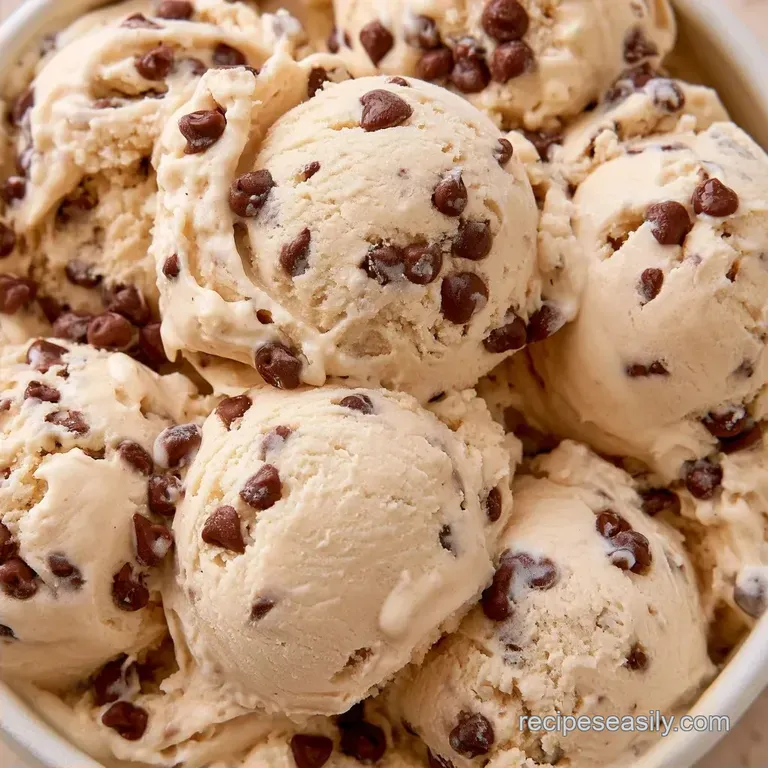
- Time: 20 min active + 4 hrs 20 mins chilling/churning
- Flavor/Texture Hook: Dense, creamy vanilla with snappy chocolate bits
- Perfect for: Weekend treat, birthday parties, or a reward after a long week
Have you ever noticed how some commercial ice creams have a grainy texture, with little ice crystals that feel like sand? I once assumed that was unavoidable or that I lacked the right equipment. In reality, the secret lies in how the fats and sugars are processed before the churning begins.
Nothing beats the sound of mini chocolate chips folding into a chilled base. The interplay between the silky, freezing cream and the sharp snap of the chocolate is perfection. Getting this right doesn't require a science lab just a little mindfulness regarding the temperature.
We'll be preparing a traditional, vanilla centric base. It's luxuriously creamy and contains no strange stabilizers. This straightforward homemade chocolate chip ice cream relies entirely on the fundamentals: sugar, fat, and a blast of cold air.
Making Rich Chocolate Chip Ice Cream
Let's dive into what makes this recipe successful. The objective is a thick, scoopable consistency that doesn't immediately liquefy in your bowl. By blending whole milk and heavy cream, we achieve a rich flavor that isn't overly cloying.
I highly recommend using mini chips. I previously attempted to use larger chunks, but they ended up feeling like frozen pebbles that were tough on the teeth. Mini chips disperse more evenly, ensuring a burst of chocolate in every mouthful without the struggle. It's all about the distribution.
The steps are simple, but timing is where most mistakes happen. If you rush the chilling stage, you'll likely end up with a slushy texture. To save yourself hours of waiting, we'll use an ice bath to speed up the cooling process.
The Texture Logic
- Warm Sugar Dissolution: Heating the milk and sugar creates a stable syrup that prevents large ice crystals from forming.
- The Rapid Chill: Using an ice bath drops the base temperature quickly, which keeps the fat molecules small and the mouthfeel silky.
| Base Method | Prep Time | Texture | Best For |
|---|---|---|---|
| Stovetop Base | 30 mins | Dense & Smooth | Classic Churning |
| Cold Mix Base | 10 mins | Lighter/Airier | Quick No Churn |
Shopping List Details
Avoid using low-fat milk for the base. You need the fat to anchor the vanilla flavor and ensure the proper structure. If you can't find mini chips, just pulse regular ones in your food processor for a few seconds.
| Ingredient | What It Does | Best Swap |
|---|---|---|
| Heavy Cream | Adds fat and volume | Full fat coconut milk (adds nuttiness) |
| Whole Milk | Tempers the richness | Evaporated milk (makes it denser) |
| Granulated Sugar | Sweetens and lowers the freezing point | Maple syrup (adds a woody flavor) |
| Mini Chocolate Chips | Provides texture and snap | Chopped dark chocolate (more bitter) |
- 3/4 cup granulated sugar Tip
- Standard sweetness that dissolves easily
- 1 tbsp pure vanilla extract Tip
- high-quality extract prevents a "chemical" aftertaste
- 1/4 tsp fine sea salt Tip
- Cuts through the richness to brighten the chocolate
Necessary Kitchen Tools
You only need a few basic tools to get this done. A medium saucepan is a must for preparing the base; I recommend using a heavy bottomed pot to prevent the milk from scorching.
A fine mesh strainer is also required. While I once ignored this step, straining the mixture catches any small bits of undissolved sugar or protein skins that form during heating, which makes the difference between a "homemade" and a "professional" result.
For the cooling process, you'll need two bowls one for the base and a larger one for the ice and water. Finally, an ice cream maker (such as a Cuisinart or KitchenAid attachment) is what allows for the necessary air incorporation.
Step by step Process
Phase 1: Creating the Base
- Combine milk, sugar, and salt in a medium saucepan.
- Heat over medium until the sugar disappears and it begins to simmer. Note: Do not let it reach a rolling boil or the milk may separate.
- Remove from heat immediately.
- Stir in the heavy cream and vanilla extract.
- Pour the mixture through a fine mesh strainer into a bowl to remove any lumps.
Phase 2: The Rapid Chill
- Place the base bowl inside a larger bowl filled with ice and water.
- Stir occasionally for 30 minutes until the bowl feels cold to the touch.
- Transfer the bowl to the refrigerator for 3 to 4 hours. Note: The base must be completely chilled to avoid a grainy texture.
Phase 3: The Churn & Fold
- Pour the chilled mixture into your ice cream maker.
- Churn according to your machine's directions.
- During the last 2 minutes of churning, when it looks like soft serve, pour in the miniature chocolate chips.
- Churn for one more minute until the chips are evenly distributed.
Fixing Common Texture Issues
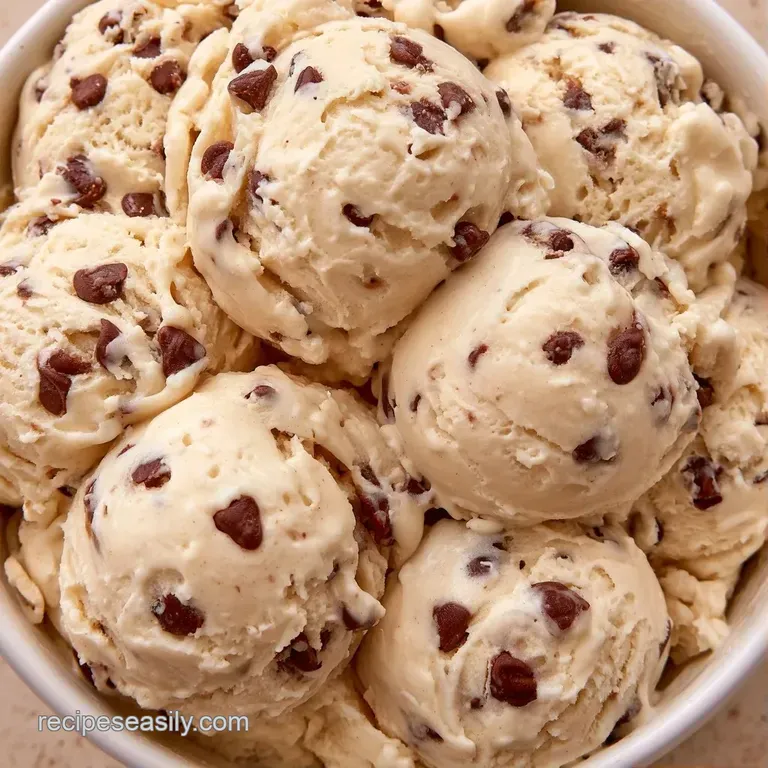
Fixing Icy Crystals
A sandy or icy consistency usually indicates the mixture was too warm before churning. This prevents the fat from freezing rapidly, allowing larger ice crystals to form. Next time, ensure your base is below 40°F.
Preventing Chocolate Sinking
Adding chips too early often causes them to settle at the bottom of the container. By waiting until the ice cream reaches the "soft serve" stage, the mixture becomes viscous enough to keep the chips suspended.
Solving a Greasy Mouthfeel
A greasy film on the palate typically suggests the ice cream was over churned, which happens when fat globules break and clump together. Turn off the machine as soon as the mixture holds its shape.
Handling Rock Hard Freezing
If the ice cream is too firm to scoop, it may lack enough sugar or fat to inhibit a total freeze. You can leave it at room temperature for 5 minutes, or briefly soften the bowl in a warm water bath.
Dietary Adaptations
If you're looking for a different vibe, you can easily tweak the base. For a more complex flavor, I suggest trying a simple vanilla ice cream method first and then adding different mix ins.
For a dairy-free version, swap the heavy cream for full fat coconut cream and the milk for unsweetened almond milk. Note that the texture will be slightly more "icy" because coconut fat behaves differently than cow's milk fat.
If you want something even more indulgent, you can fold in swirls of peanut butter or salted caramel during the last minute of churning. Just be careful not to over mix, or you'll end up with a brown blur instead of distinct swirls.
| Original Ingredient | Budget Swap | Impact on Result |
|---|---|---|
| Pure Vanilla Extract | Imitation Vanilla | Less depth, more "candy" flavor |
| Heavy Cream | Half and Half | Lighter texture, melts faster |
| Semi Sweet Chips | Store Brand Chips | Generally the same, maybe waxier |
Adjusting the Batch
Scaling this recipe up is easy, but don't just double everything blindly. When doubling the batch (for 16 servings), I recommend increasing the salt and vanilla by only 1.5x. Overdoing the salt can make the cream taste "off."
If you're cutting the recipe in half, use a smaller bowl for the ice bath to ensure the liquid stays in contact with the cold surface. You'll also find the churning time might drop by about 20%, so keep a close eye on the consistency.
For those making massive batches, work in two separate churns. Overfilling an ice cream maker prevents the paddle from incorporating enough air, resulting in a dense, brick like block of Chip Ice Cream that's nearly impossible to scoop.
Myth Busting
Many people think you need to "age" the base for 24 hours in the fridge. While aging can slightly improve the texture by allowing proteins to stabilize, the ice bath method provides a sufficiently rapid drop in temperature for home use.
Another common belief is that you must use a professional compressor machine. While they are faster, a simple canister style maker works just as well as long as your base is properly chilled before you start.
Some claim that adding cornstarch or flour is necessary for thickness. This is a misconception. The high fat content of the heavy cream provides all the body you need for a rich Chocolate Chip Ice Cream.
Storage and Waste
Keep your finished treat in a freezer safe container. To prevent ice crystals from forming on the surface, press a piece of wax paper or plastic wrap directly onto the top of the ice cream before sealing the lid. It'll stay great for about 2 weeks.
If you have leftover heavy cream from the recipe, don't let it go to waste. You can whip it with a bit of sugar for a topping or freeze it in ice cube trays to drop into your morning coffee.
For the miniature chips, if you have a few left in the bag, toss them into a batch of cookies or sprinkle them over some oatmeal. Even the smallest scraps are useful in a dessert focused kitchen.
Best Serving Ideas
While delicious on its own, this ice cream is also perfect for homemade sandwiches. Use soft brioche or store-bought cookies to encase a generous layer of the frozen cream. If you want a similar treat with a twist, my cookie dough ice cream is another crowd pleaser.
Use a cold bowl to slow the melting process. A dash of coarse salt on top really enhances the chocolate notes.
For an indulgent option, pair a scoop with a warm brownie. The heat creates a molten pool of vanilla and chocolate, which is truly the ultimate dessert experience.
- Temperature Check
- Base should be below 40°F before churning.
- Consistency Check
- Stop churning as soon as it looks like thick soft serve.
- Mix in Timing
- Add chips in the final 2 minutes only.
Recipe FAQs
How to make chocolate chip ice cream at home?
Simmer milk, sugar, and salt. Stir in cream and vanilla, then chill the base in an ice bath for 30 minutes and the fridge for 3-4 hours before churning. Add chips during the last 2 minutes of churning.
What is the secret to making this ice cream very creamy?
Passing the base through a fine mesh strainer. This filters out any undissolved sugar or lumps, resulting in a perfectly smooth liquid. For another recipe that prioritizes this same silky consistency, try our cheesecake bars.
Why does homemade ice cream sometimes turn out icy?
The base wasn't chilled enough. Ensure the mixture is cold to the touch after the ice bath and refrigerated for at least 3 hours. This prevents large ice crystals from forming during the churn.
Is it true that you must boil the milk and sugar?
Not true. You only need to heat the mixture until it begins to simmer. Boiling can change the flavor of the milk and affect the final texture.
When should the chocolate chips be added?
Add them during the last 2 minutes of churning. Wait until the ice cream reaches a soft serve consistency. This ensures the chips are evenly distributed without overworking the machine.
Can I use milk chocolate instead of semi sweet?
Yes, but the flavor will be sweeter. Semi sweet miniature chips provide a balanced contrast to the rich cream base.
Chocolate Chip Ice Cream