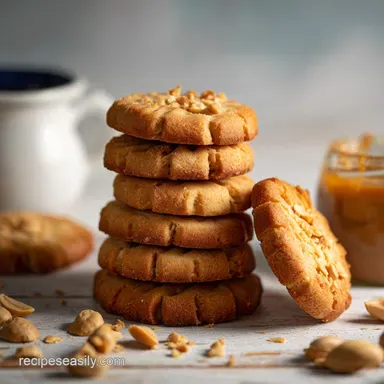
Quick 3 Ingredient Peanut Butter Cookies in 20 Minutes
- Time: 10 min active + 10 min bake
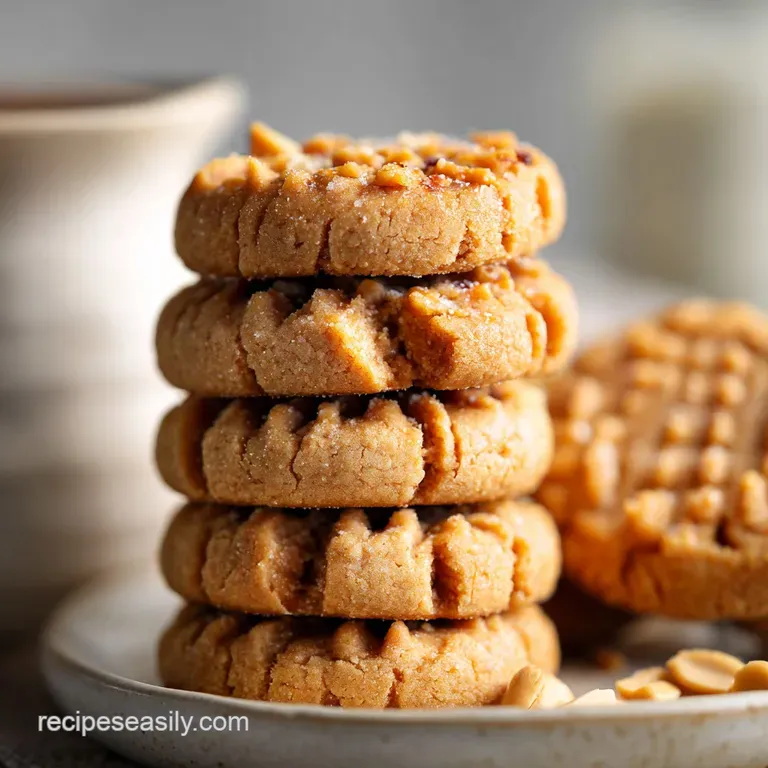
- Flavor/Texture Hook: Dense, fudge like center with mahogany edges
- Perfect for: Last minute cravings and beginner bakers
Ever wonder why some cookie recipes need a whole pharmacy of ingredients just to hold their shape? We're taught that flour is the only way to build a cookie, but that's not actually true. You can get a rich, satisfying bake using just pantry staples.
I used to think I needed a stand mixer and a degree in chemistry to get a good chew. Then I tried this method. It's a bit of a revelation how a single egg can bind everything together into a cohesive dough.
These Quick 3 Ingredient Peanut Butter Cookies don't rely on leavening agents. Instead, they create a concentrated, nutty flavor that's way more intense than a standard sugar cookie. They're soft, slightly salty, and hit the spot every time.
Quick 3 Ingredient Peanut Butter Cookies
Here is a quick breakdown of the yield. This recipe makes about 16 cookies. Preparation is fast, but be patient during the cooling stage so they don't break when you move them.
Precision Checkpoints:
- Ball Size: Exactly 1 inch in diameter.
- Spacing: 2 inches between each cookie.
- Bake Time: 8 to 10 minutes.
What Makes This So Good
- No Flour: Using peanut butter as the base creates a dense, fudgy consistency instead of a cakey one.
- Egg Binding: The egg emulsifies the fats and sugars, ensuring the cookies don't just melt into a puddle.
- Sugar Caramelization: Since there's no flour to buffer the heat, the sugar browns quickly, giving you those crisp edges.
Ingredient Deep Dive
The appeal of this recipe is its straightforward nature. There is no need to stress over precise measurements or worry about over-packing your flour.
| Ingredient | Role | If You Don't Have It |
|---|---|---|
| Peanut Butter (1 cup) | Structure and fat | Almond butter (results in a more subtle flavor) |
| Granulated Sugar (1 cup) | Sweetness and crisp edges | Brown sugar (creates a darker, chewier cookie) |
| Large Egg (1 unit) | Binder and lift | Flax substitute (mix 1 tbsp ground flax with 3 tbsp water) |
The fats in the peanut butter act as the main structural element. Standard creamy peanut butter is best, as versions with too many additives may change how the dough spreads.
Equipment Needed
Standard kitchen tools are all you'll need. A few basic essentials will do.
- Large mixing bowl
- Sturdy spoon or spatula
- Baking sheet
- Parchment paper
- Measuring cups
- Fork (for that classic look)
Bringing It Together
Let's get into the flow. This is a fast process, so have your tray lined and ready before you start mixing.
Phase 1: Creating the Emulsion
- Preheat your oven to 350°F (175°C).
- Combine 1 cup peanut butter, 1 cup sugar, and 1 large egg in a large bowl.
- Stir vigorously. Note: Keep stirring until the grainy sugar disappears and the dough becomes a smooth, cohesive paste.
Phase 2: Shaping and Patterning
- Line a baking sheet with parchment paper.
- Scoop 1 tablespoon of dough and roll it into a 1 inch ball.
- Place balls 2 inches apart on the sheet.
- Press a fork firmly into the ball, rotate it 90 degrees, and press again to make a crosshatch.
Phase 3: The Precision Bake
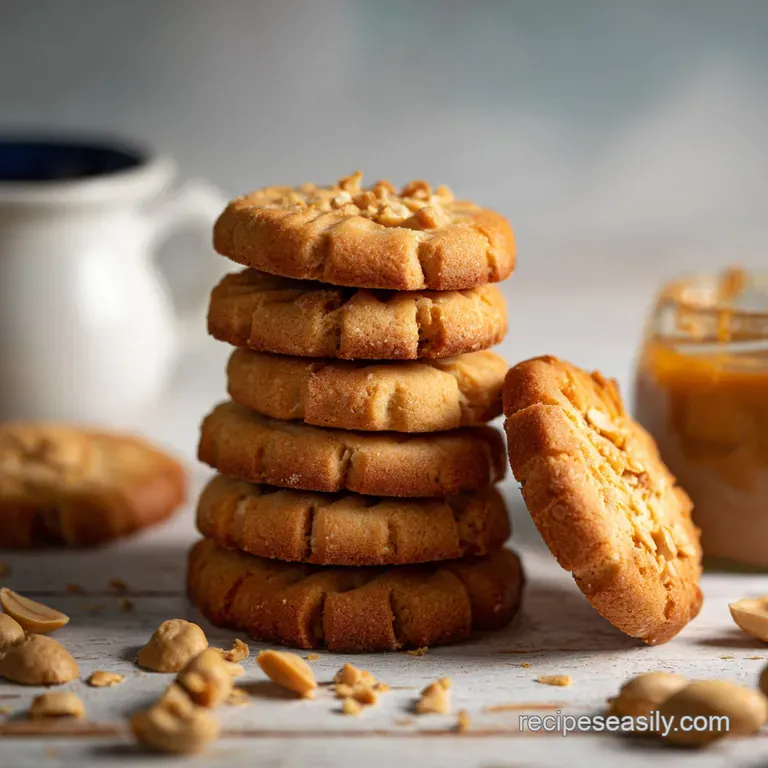
- Bake on the center rack for 8 to 10 minutes until the edges turn a dark mahogany.
- Remove from the oven immediately.
- Cool on the pan for 5 minutes. Note: This allows the structure to set so they don't break.
Avoiding Kitchen Disasters
The most common issue is the spread. Because there's no flour, these cookies are sensitive to the type of peanut butter you use. Natural peanut butter (the kind you have to stir) has more oil, which can lead to flatter cookies.
To Prevent Excessive Spreading
If the dough feels too oily, don't panic. Just pop the rolled balls in the fridge for 15 minutes before you press them with the fork. This firms up the fat.
To Fix Crumbly Dough
Sometimes, if the egg is small or the peanut butter is very dry, the dough won't hold a ball shape. Stir in a teaspoon of milk or water to bring it together.
To Stop Burnt Bottoms
If your oven runs hot, the bottoms can brown too fast. Always use parchment paper rather than greasing the pan with butter.
| Problem | Fix |
|---|---|
| Cookies spread too much | Chill dough 15 mins before baking |
| Dough is too dry | Add 1 tsp milk |
| Bottoms burn quickly | Use parchment paper |
Creative Twists and Swaps
You can stick to the basics, but a few tweaks can change the whole vibe. If you're in a frozen dessert mood, these cookies pair well with cookie dough ice cream.
Decision Shortcuts:
- More crunch? → use chunky peanut butter.
- Saltier profile? → sprinkle flaky sea salt on top.
- Richer color? → swap for dark brown sugar.
Since the ingredients are so simple, you can easily swap the peanut butter for cashew or almond butter. Just know that almond butter is slightly less stable, so the chilling trick is almost mandatory there.
| Original Ingredient | Substitute | Why It Works |
|---|---|---|
| Granulated Sugar | Brown Sugar | Higher moisture. Note: Results in a denser, chewier cookie |
| Peanut Butter | Almond Butter | Similar fat profile. Note: Milder flavor, spreads more |
The differences between using processed and natural nut butters are surprising. Processed butters have stabilizers that keep the cookie's shape better.
| Nut Butter Type | Texture | Stability |
|---|---|---|
| Processed (Stabilized) | Consistent | High (holds shape) |
| Natural (Stirred) | Oily | Low (spreads more) |
How to Store and Keep Fresh
The high fat content keeps these soft for a while. Store them in a sealed container on the counter for up to 5 days. For longer storage, the freezer is your friend.
To freeze, flash freeze the cookies on a tray for 60 minutes, then move them into a freezer bag to prevent sticking. They'll stay good for 3 months. To eat, let them sit out for 20 minutes or give them a quick 10-second zap in the microwave.
To avoid waste, if you have a small bit of dough left, roll it into a tiny ball and bake it as a "chef's treat." It's the best part of the process.
Perfect Complements
These are quite indulgent, so they pair well with something to cut through the richness. A chilled glass of milk is the traditional choice, but a side of tart raspberry jam is also fantastic.
For a special touch, drizzle these with some brown butter caramel sauce while they are still warm. The saltiness of the peanut butter and the toasted notes of the brown butter create a perfect harmony.
When offering these to guests, try pairing them with slices of Granny Smith apple. The apple's acidity cleanses the palate between bites of the dense, sugary cookies.
Recipe FAQs
How to mix peanut butter cookies?
Stir the peanut butter, sugar, and egg vigorously in a large bowl. Continue mixing until the grainy paste transforms into a smooth, cohesive dough.
Which ingredients create flourless dough?
Combine one cup of peanut butter, one cup of sugar, and one egg. If you enjoyed mastering this flourless texture, see how we achieve a different richness in our coconut pound cake.
Are these cookies egg-free?
No, these cookies require an egg to emulsify the fats and sugars. Without this binder, the dough would likely melt into a puddle in the oven.
Can I make these without baking?
No, these must be baked at 350°F to set the structure. They are not a no-bake recipe.
Is it true that flour is mandatory for cookie structure?
No, this is a common misconception. The high fat content in peanut butter provides enough density to support the cookie on its own.
Why do the edges turn dark?
The lack of flour allows the sugar to caramelize directly against the heat. This creates the signature mahogany edges while the center stays soft.
Where to store these cookies?
Keep them in a sealed container at room temperature. They stay fresh and fudgy for several days.
What's the secret to the crosshatch look?
Press a fork firmly onto each dough ball and then rotate it 90 degrees for a second press. This creates the traditional crisscross pattern before baking.
Peanut Butter Cookies in 20 Minutes