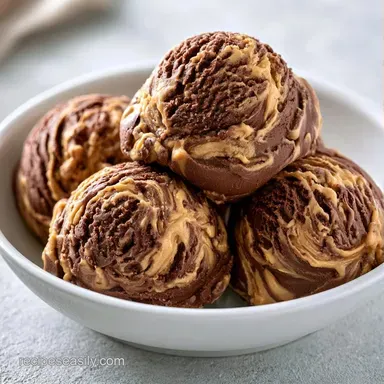
Chocolate Peanut Butter Ice Cream: Rich and Dense
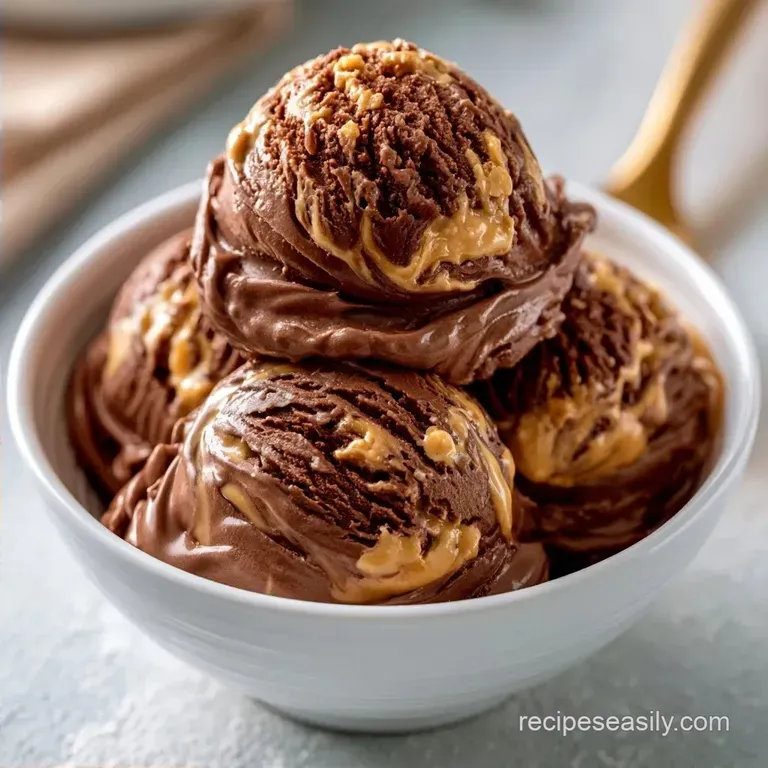
- Time: 15 min active + 4 hrs 20 mins total
- Flavor/Texture Hook: Dense chocolate with ribbons of salty peanut butter
- Perfect for: High energy dessert cravings or a decadent party treat
Making a Rich Butter Ice Cream
Nothing wakes me up quite like the sound of a hand mixer whipping up soft peaks. I still remember a failed attempt at a fancy custard years ago that ended in scrambled eggs and a lumpy, creamy disaster.
After that, I stopped obsessing over traditional techniques and started searching for a foolproof method designed for people who just want a delicious dessert.
This recipe was born from that frustration. Instead of following a rigid textbook, the goal is to achieve a luxurious, mouth-coating richness without spending hours over a stove. You get a bold cocoa punch and a salty peanut butter edge, all tied together by a base that tastes gourmet but requires minimal effort.
The secret is all in the consistency. It’s dense and heavy, completely avoiding those icy crystals that make store-bought pints feel like frozen slush. We're aiming for something that feels less like a standard scoop and more like a frozen truffle.
The Quick Recipe Specs
When you're planning this, remember that the machine does the heavy lifting, but the freezer does the waiting. If you use a traditional churner, you're looking at a quick turnaround. For Ninja Creami users, you'll need to prep this a full day early.
The timeline is simple. First, you've got 15 minutes of active prep to get your bases mixed and whipped. Then, you've got about 25 minutes of churning. The rest of the time is just letting it set in the cold so you can actually scoop it without it melting instantly.
| Feature | Homemade Version | store-bought Shortcut |
|---|---|---|
| Texture | Dense and rich | Airy and icy |
| Control | You pick the cocoa quality | Mystery stabilizers |
| Cost | Cheaper per pint | Higher markup |
For those who like to plan, here is the flow. Prep the chocolate base and whip the cream first. Churn the mixture until it looks like soft serve. Finally, swirl in the peanut butter and freeze.
What's Inside the Mix
I use Dutch processed cocoa because it's less acidic and gives that dark, professional look. Regular cocoa works, but it won't have that same depth. The coconut oil in the swirl is a non negotiable. Without it, the peanut butter freezes into a hard, waxy brick that doesn't swirl, it just chunks.
The heavy cream needs to be ice cold. If it's room temperature, it won't hold the air we need for the structure. I usually keep my mixing bowl in the fridge for 10 minutes before I start.
| Ingredient | Role | If You Don't Have It |
|---|---|---|
| Heavy Cream | Provides the fat and air | Mascarpone (thickens it more) |
| Dutch Cocoa | Deep chocolate flavor | Unsweetened cocoa powder |
| Peanut Butter | Salty contrast and fat | Almond butter (milder taste) |
| Coconut Oil | Keeps the swirl soft | Melted butter (similar result) |
Tools for the Job
While you don't need an industrial setup, a few specific tools are helpful. A fine mesh sieve is the most critical item here; cocoa powder is prone to clumping, and nothing ruins Butter Ice Cream faster than biting into a dry ball of powder.
A motorized mixer, like a KitchenAid, is essential for the cream. You can whisk by hand, but you'll be at it for an hour. I also recommend a rubber spatula for folding so you can be gentle and avoid knocking the air out of the whipped cream.
Finally, you'll need the freezer bowl for your ice cream maker. Ensure it has been chilling for at least 24 hours. If you hear any liquid sloshing inside, it isn't cold enough to churn.
How to Make It
Crafting the Chocolate Base
In a medium bowl, whisk together the cocoa powder, granulated sugar, and salt. Gradually whisk in the vanilla extract and whole milk until the sugar has fully dissolved. To ensure a smooth texture, pour the liquid through a fine-mesh strainer.
Whipping the Cream
Using a chilled bowl, beat the heavy whipping cream on medium-high speed with a hand mixer until soft peaks form. Use a rubber spatula to gently fold the chocolate mixture into the whipped cream.
The Churning Process
Pour the combined mixture into your ice cream machine. Process for 20–25 minutes until it reaches a soft serve consistency. If you have a Ninja Creami, freeze the base for 24 hours and select the Ice Cream setting.
Swirling the Peanut Butter
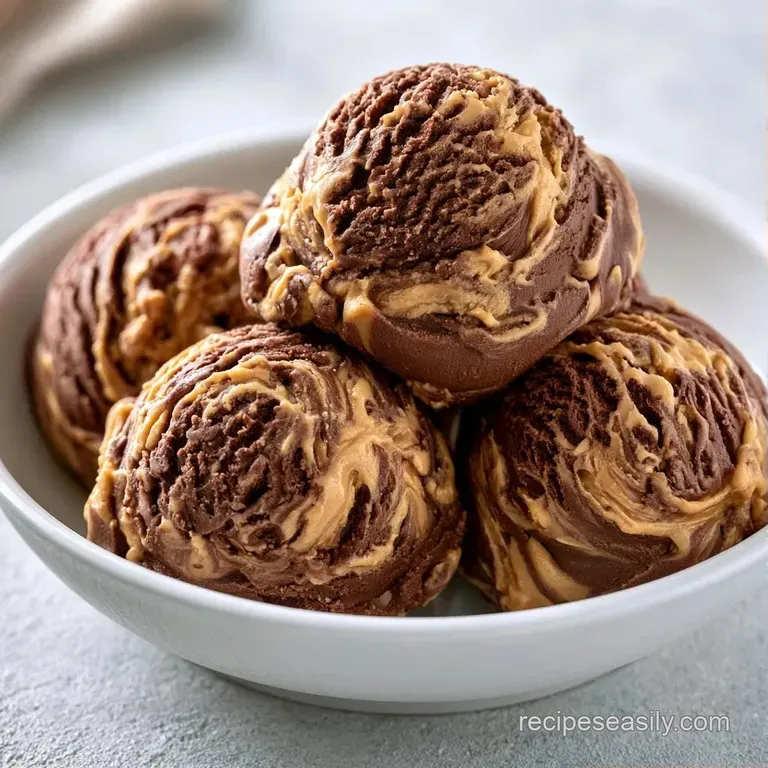
Combine melted coconut oil and warmed peanut butter in a small bowl. As you move the Butter Ice Cream into its storage container, add teaspoons of the peanut butter blend and chocolate chips. Use a knife to swirl the mixture in a figure-eight pattern.
Why the Texture Works
The richness comes from the combination of heavy cream and nut fats. By whipping the cream first, we trap air bubbles that keep the Butter Ice Cream from freezing into a solid block of ice. This is similar to how cookie dough ice cream maintains a chewable texture.
Nut Fat Emulsion: The coconut oil lowers the freezing point of the peanut butter, which keeps the ribbons soft. Air Integration: Folding whipped cream into the base creates a stable structure without needing egg yolks.
Fixing Common Freezer Fails
If your ice cream comes out feeling gritty, it's usually a sugar or cocoa issue. I've had batches where I skipped the sieve, and the result was like eating sandy chocolate. Always strain that base.
Another common problem is the "rock hard" freeze. This happens when there isn't enough fat or sugar to prevent the water in the milk from crystallizing. Using full fat heavy cream and whole milk is the only way to avoid this.
Fixing a Grainy Texture
Graininess usually means the cocoa didn't dissolve. Use a sieve and make sure your milk is at room temperature when mixing with the sugar.
Preventing the "Rock Hard" Freeze
If it's too hard to scoop, let it sit on the counter for 5-10 minutes. Adding a tablespoon of vodka or corn syrup to the base also lowers the freezing point.
| Problem | Root Cause | Solution |
|---|---|---|
| Gritty Base | Undissolved cocoa | Sieve the mixture |
| Waxy Swirl | No coconut oil | Mix PB with oil |
| Icy Texture | Poor aeration | Beat cream to soft peaks |
Keeping It Fresh
Transfer your Butter Ice Cream to a freezer-safe container. To prevent ice crystals from forming, press parchment paper or plastic wrap firmly against the top before sealing the lid. It will remain delicious in the freezer for roughly 2 weeks.
To reduce waste, avoid tossing the remaining coconut oil or peanut butter from the bowl. Instead, stir it into oatmeal or use it to grease a brownie pan. Any leftover chocolate base can be frozen in ice cube trays to add to future smoothies.
Ways to Change It
You can easily tweak this recipe to fit your mood. For a more sophisticated taste, try adding a pinch of espresso powder to the cocoa mix. The coffee doesn't make it taste like a mocha, it just makes the chocolate taste darker and more intense.
If you want something even more decadent, drizzle some brown butter caramel sauce over the top before the final freeze. You could also swap the chocolate chips for crushed pretzels to lean into that salty sweet vibe.
Quick adjustments for your goals:
- For a firmer set: Freeze for 6 hours instead of 4.
- For more salt: Add a pinch of flaky sea salt to the peanut butter swirl.
- For a deeper cocoa taste: Use 70% dark chocolate chips.
Best Ways to Serve
Since this Butter Ice Cream is so rich, it benefits from a bit of contrast. I recommend serving it in a cold bowl with tart Granny Smith apple slices or a handful of fresh raspberries. That acidity cuts through the richness and refreshes your palate between each spoonful.
Alternatively, try a scoop on a warm, toasted brownie. The way the chocolate blends into the cake while the peanut butter ribbons remain thick is fantastic. Be careful not to add too many toppings, or you might overshadow the peanut butter taste.
One last piece of advice: chill your bowls. Placing a scoop of Butter Ice Cream in a warm bowl is a sure way to get a puddle in less than two minutes. Just pop your glassware in the freezer for 10 minutes, and you're ready.
Recipe FAQs
How to make chocolate ice cream at home?
Whisk sugar, cocoa powder, and salt together before folding them into whipped cream.
Tip: Pass the cocoa-milk liquid through a fine mesh sieve to ensure a smooth texture.
Why is my peanut butter swirl freezing too hard?
Mix warmed peanut butter with melted coconut oil to keep the ribbons soft.
Tip: Use a knife in a figure-eight motion for the most visually appealing swirl.
Is it true that I need to cook a custard for rich ice cream?
Surprisingly, no. This method achieves a dense, truffle-like richness using a whipped cream base without any egg tempering.
Tip: Keep your mixing bowl chilled to help the cream reach soft peaks faster.
What goes well with this rich dessert?
Serve a scoop alongside a slice of classic yellow cake for a decadent pairing.
Tip: Warm the cake slightly to create a temperature contrast with the cold ice cream.
Can I make this without an ice cream maker?
Freeze the mixture for 24 hours and process it using a Ninja Creami on the Ice Cream setting.
Tip: Let the pint sit on the counter for two minutes before processing to avoid cracks.
Butter Ice Cream for 10 Servings