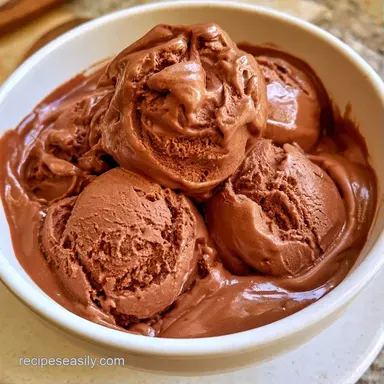
Chocolate Ice Cream with Condensed Milk
- Time: 10 min active + 6 hrs chilling
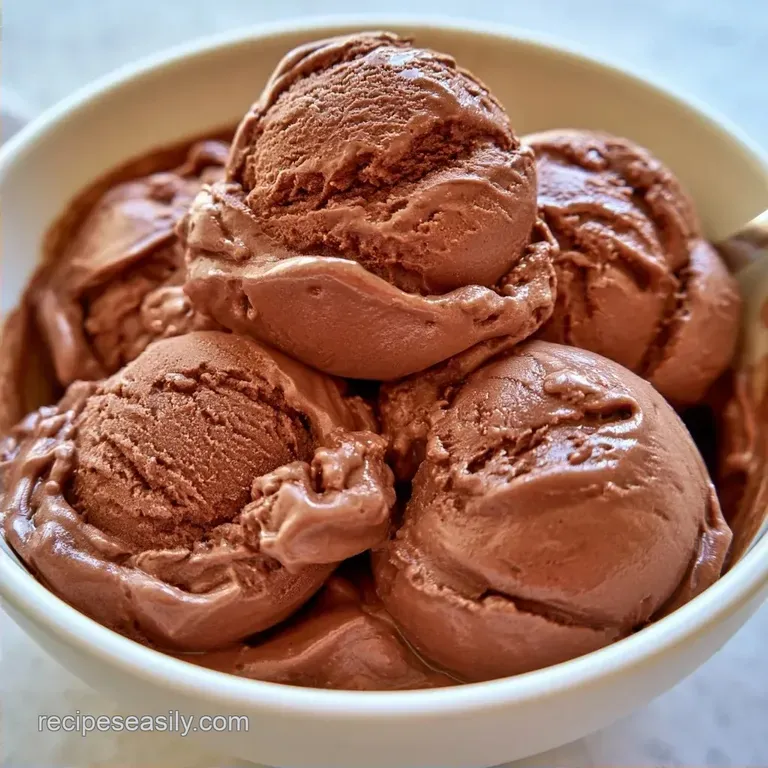
- Flavor/Texture Hook: Dense, fudgy, and deep cocoa flavor
- Perfect for: Last minute dinner party prep or a little kid's treat
That smell of cocoa powder hitting a bowl always takes me back. A few years ago, I tried making a "traditional" custard based treat from a vintage book. I spent hours tempering eggs and simmering milk, only to end up with a gritty, frozen brick that felt more like a popsicle than a dessert. It was a total letdown.
Then I tried the condensed milk method. It removes the need for a churner and the stress of broken custards. You just whisk, fold, and freeze.
This Chocolate Ice Cream is for anyone who wants a heavy, rich scoop without buying a bulky machine. It’s a quick win that actually tastes like it took all day.
Easy Homemade Chocolate Ice Cream
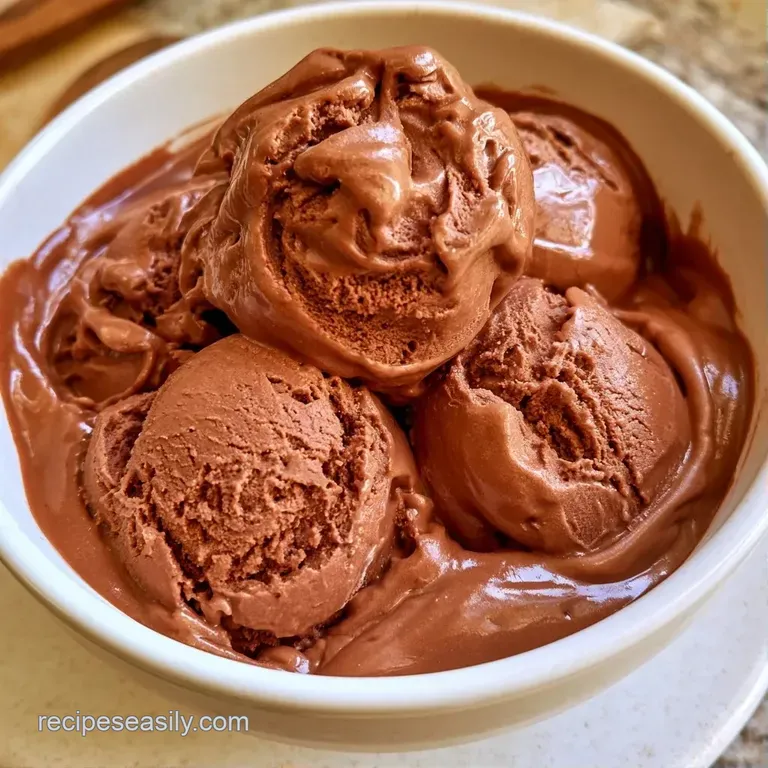
The result is a mahogany colored scoop that hits that deep cocoa note. Because we skip the churning process, you don't have to worry about salt and ice messes in your kitchen. It’s just a few pantry staples and some patience while it sets in the freezer.
Right then, let's get into the details. This version relies on fat and sugar to keep things soft. If you’ve ever had store-bought pints that feel "chewy," that's the goal here.
The Magic Behind the Texture
Sugar Levels: The high sugar in condensed milk lowers the freezing point, so the treat stays scoopable instead of turning into a block of ice.
Air Pockets: Whipping the heavy cream traps tiny bubbles that mimic the aeration you'd normally get from a machine.
The Basics of the Build
To get started, let's look at how each component contributes to the final dessert.
| Component | Purpose | Substitute Notes |
|---|---|---|
| Cocoa Powder | Creates the rich chocolate base | Dutch process cocoa: provides a darker hue and milder flavor |
| Condensed Milk | Adds sweetness and limits ice crystals | Evaporated milk + sugar: less creamy, can be slightly icier |
| Heavy Cream | Provides fat for an airy texture | Full fat coconut cream: works well, though it adds a coconut note |
Ingredients You'll Need
- 1/2 cup (45g) unsweetened cocoa powder Why this? Provides a bold, bittersweet chocolate punch
- one 14 oz (397g) can of sweetened condensed milk Why this? Acts as both the primary sweetener and a stabilizer
- 2 cups (480ml) heavy whipping cream, cold Why this? Its high fat content creates the necessary fluffiness
- 1 tsp (5ml) vanilla extract
- 1/4 tsp (1.5g) fine sea salt Why this? Offsets the sweetness to make the chocolate flavor stand out
Quick Ingredient Swaps
| Original Ingredient | Substitute | Why It Works |
|---|---|---|
| Unsweetened Cocoa | Melted Semi Sweet Chocolate | More intense flavor. Note: Must be melted and slightly cooled first |
| Vanilla Extract | Almond Extract | Gives a subtle, nutty, cherry like quality |
| Fine Sea Salt | Kosher Salt | Performs the same role; just adjust the amount slightly |
The primary difference compared to a churned version is the required equipment and time. While churned ice cream has a more uniform air distribution, the condensed milk method results in a denser, fudgier texture that many prefer.
Tools You'll Actually Use
Basic equipment is all you need to get this done. Just a couple of simple tools will work perfectly.
2 Essential Tools
- Electric Hand Mixer: A whisk is an option, but it's a real workout. A mixer achieves those soft peaks in about 3 minutes.
- Rubber Spatula: This is a must. You'll need it to fold the cream carefully without deflating the air bubbles.
I typically opt for a large metal bowl for whipping; it keeps things colder, which helps the fat in the cream maintain its shape.
Step by step Mixing Guide
Follow these directions to ensure a silky smooth consistency. Folding too quickly will deflate the air, leaving the dessert feeling too dense.
Phase 1: The Chocolate Base
- Place the sweetened condensed milk in a medium bowl.
- Whisk in the salt, vanilla extract, and cocoa powder.
- Stir for about 2 minutes until the mixture is smooth and glossy. Note: Ensure no cocoa clumps remain.
Phase 2: Whipping the Cream
- Pour the cold heavy whipping cream into a large, chilled bowl.
- Beat on medium high speed until soft peaks form. Note: Stop as soon as the cream holds its shape but the tip curls over.
Phase 3: The Fold & Freeze
- Stir one third of the whipped cream into the chocolate base to lighten it.
- Fold the chocolate mixture back into the remaining whipped cream.
- Using a rubber spatula, gently use a "cut and lift" motion until no white streaks remain.
- Transfer the mixture into an airtight container or a 9x5 inch loaf pan.
- Freeze for at least 6 hours.
Chef's Note: To create a "mountain" of ice cream that is easier to scoop, place the loaf pan in the freezer at a slight tilt.
Fixing the Common Glitches
Not every batch is perfect. Usually, it comes down to temperature; if the cream is too warm, it simply won't hold its volume.
2 Reasons Your Cream Didn't Stiffen
First, ensure your cream is ice cold, otherwise the fat molecules won't be able to trap air. Second, you might have under whipped it. If the consistency is still liquid, keep whipping, but stay alert so you don't accidentally make butter.
1 Fix for a Grainy Texture
Grittiness is often caused by cocoa powder that didn't fully dissolve. If you notice lumps, try whisking the chocolate base more thoroughly before stirring in the cream.
| Problem | Root Cause | Solution |
|---|---|---|
| Icy crystals on top | Temperature swings in freezer | Press plastic wrap firmly against the top of the cream |
| Too hard to scoop | Too much cocoa/not enough fat | Leave it out at room temperature for 5 minutes before scooping |
| Liquid at the bottom | Over mixing during the fold | Use a lighter touch with the spatula next time |
Regarding the texture, you can add fresh berries if the dessert feels too rich. If you're looking for a machine based version, this Coffee Ice Cream Maker Recipe is an excellent choice for a different flavor profile.
Ways to Twist the Flavor
Feel free to customize the flavor profile once you've mastered the basic recipe.
- Chocolate Chip: Fold in 1/2 cup of mini chocolate chips right before finishing.
- Minty Fresh: Stir 1 tsp of peppermint extract into the chocolate base.
- Nutty Crunch: Mix in crushed walnuts or toasted hazelnuts.
Decision Shortcut:
- More richness? → Use 85% dark chocolate rather than cocoa.
- Milder taste? → Fold in 1/4 cup of softened cream cheese.
- Coffee boost? → Mix 1 tbsp of instant espresso powder into the cocoa.
Keep It Fresh and Frozen
This Chocolate Ice Cream keeps well in the freezer for approximately 2 weeks. Beyond that, it may start absorbing scents from other nearby foods.
Use a container with a secure lid. To keep those pesky ice crystals from appearing on the surface, press a piece of parchment paper against the top before sealing.
Zero Waste Tip: If you have some leftover chocolate base that wasn't combined with cream, stir it into a warm cup of milk for a fast homemade hot chocolate.
Best Ways to Serve It
For the easiest scooping, leave the container out for about 5 minutes to soften the edges just enough.
I enjoy serving this topped with warm fudge or a few fresh raspberries. For a more indulgent treat, pair it with a scoop of Toasted Marshmallow Ice Cream to get a "S'mores" inspired vibe.
Avoid using a metal scoop directly from the freezer; a durable plastic one is typically more effective for this denser style of dessert.
The Secret to the Scoop
The real trick is the "cut and lift" motion. When you fold, you're preserving the air you spent time whipping into the cream. If you stir it like a batter, you'll collapse those bubbles and end up with a frozen slab.
Most people think you need a machine to avoid ice crystals, but as USDA FoodData Central notes, the composition of fats and sugars heavily influences the freezing point of dairy. The condensed milk does the heavy lifting here, ensuring your Chocolate Ice Cream stays creamy and smooth.
Recipe FAQs
How do I prepare this chocolate ice cream?
Whisk cocoa powder, condensed milk, vanilla, and salt before folding in whipped heavy cream.
Tip: Use a rubber spatula and a 'cut and lift' motion to avoid deflating the air.
Can I make this without a machine?
Yes, the whipped cream provides the necessary aeration for a smooth no-churn texture.
Tip: Freeze the mixture in a 9x5 inch loaf pan for at least 6 hours.
Is it true that regular milk replaces condensed milk?
Actually, no. Condensed milk provides the specific sugar density required to prevent large ice crystals from forming.
Tip: If you enjoyed mastering the richness here, apply the same flavor layering to a chocolate cake.
Which technique intensifies the cocoa flavor without sugar?
Sift the cocoa powder to remove lumps and ensure a deep, consistent taste throughout the base.
Tip: Use very cold heavy cream to ensure the whipped peaks are stable and firm.
No Churn Chocolate Ice Cream