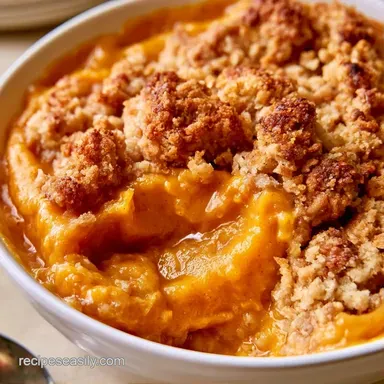
Failure-Proof Pumpkin Crisp with Oats
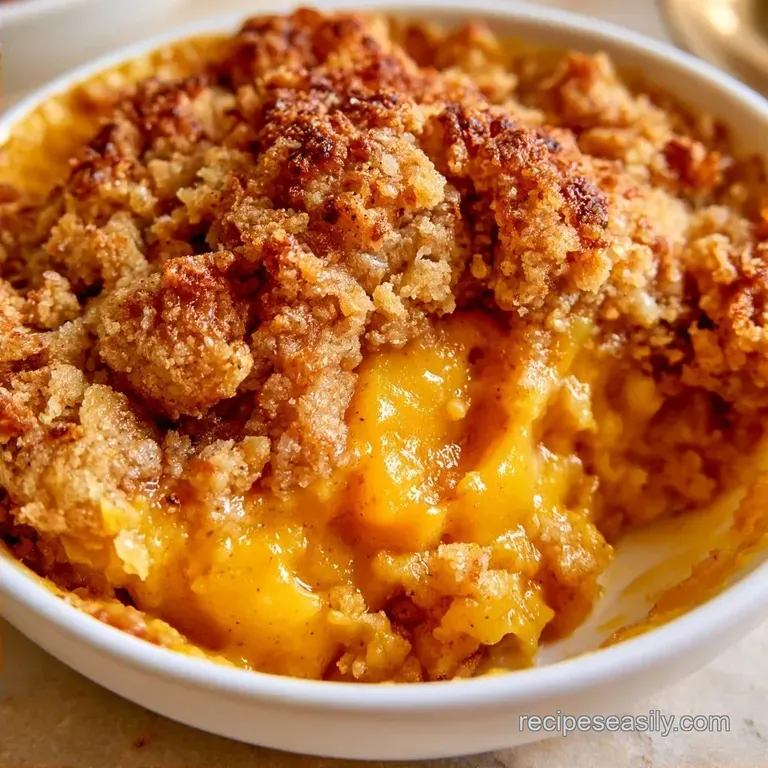
- Time: 15 minutes of prep + 30 minutes in the oven
- Highlights: A velvety spiced filling paired with a crisp, nutty topping
- Best for: Rapid holiday treats or relaxing Sunday evenings
- Why This Texture Actually Works
- The Role of Each Ingredient
- Essential Recipe Specs
- The Building Blocks
- Basic Tools You'll Need
- The Cooking Process
- Common Mistakes & Troubleshooting
- Creative Twists and Swaps
- Keeping It Fresh
- Serving Suggestions
- Kitchen Myths
- Final Thoughts on This Bake
- Recipe FAQs
- 📝 Recipe Card
Once the aroma of cinnamon and roasted pecans fills the kitchen, you know autumn is officially here. For many, these harvest inspired treats are about more than sweetness; they are a tribute to the traditional English crumbles and American crisps crafted as the air chilled and pantries overflowed with preserves.
These desserts were staples at every family get-together throughout my childhood. The pairing of a tender, warm center and a brittle topping always evokes a sense of comfort. Whether you're entertaining guests or simply craving a treat after a tiring day, a batch of Pumpkin Crisp never fails.
Forget about rolling pins or chilling dough. This recipe relies on straightforward stirring and a brief time in the oven. It's the sort of dish that looks sophisticated on a serving platter but requires minimal work to assemble.
Why This Texture Actually Works
- The Egg Sugar Whisk: Beating the egg and brown sugar first creates a stable emulsion. This prevents the pumpkin from weeping water in the oven, which keeps the Pumpkin Crisp from becoming a puddle.
- Cold Butter Cubes: Using chilled butter in the topping ensures the fat doesn't melt into the flour immediately. Instead, it creates tiny steam pockets during baking, which makes the Pumpkin Crisp topping light and crisp.
- Oat Hydration: The rolled oats soak up just enough moisture from the butter and sugar to stay chewy without getting soggy.
| Method | Time | Texture | Best For |
|---|---|---|---|
| Oven Bake | 45 mins | Set custard, toasted top | Classic family serving |
| Stovetop Filling | 15 mins | Soft, porridge like | Quick bowls with toppings |
The Role of Each Ingredient
The pumpkin puree forms the foundation, providing both substance and a natural, earthy sweetness. It is important to use pure pumpkin rather than pie filling so the sugar content remains under your control.
A splash of half and half introduces a richness that transforms the filling into a smooth custard instead of a simple mash. For that classic, cozy warmth, cinnamon and nutmeg are the essential spices.
The topping uses old-fashioned rolled oats to maintain its structure, as instant oats tend to become too mushy. All-purpose flour serves as the binder, while light brown sugar caramelizes in the oven to produce those deep, mahogany colored clusters. Using chilled butter is essential for achieving the right crunch.
Lastly, chopped pecans contribute a woody, salty note that balances the overall sweetness of the Pumpkin Crisp.
Essential Recipe Specs
The timing here is tight. You've got 15 minutes of prep and 30 minutes in the oven. Since it's a 9x9 inch pan, the heat penetrates the center quickly. You'll know the Pumpkin Crisp is done when the edges start to bubble slightly and the topping looks like toasted gold.
One thing to remember is the rest period. If you cut into it the second it leaves the oven, the custard will be too soft. Letting the Pumpkin Crisp sit for 15 minutes allows the proteins in the egg to fully set, giving you a clean slice.
The Building Blocks
For the Pumpkin Filling
- 425g (15 oz) pure pumpkin puree Why this? Thick base for a stable custard
- 100g (1/2 cup) light brown sugar, packed Why this? Deep molasses flavor
- 50g (1 large) egg Why this? Binds the filling and provides lift
- 120ml (1/2 cup) half and half Why this? Adds creamy richness
- 2g (1 tsp) ground cinnamon Why this? Classic autumn warmth
- 1g (1/4 tsp) ground nutmeg Why this? Adds a slight nutty edge
- 1.5g (1/4 tsp) salt Why this? Balances the sugar
For the Oat Crumble Topping
- 90g (1 cup) old-fashioned rolled oats Why this? Maintains a chewy texture
- 95g (3/4 cup) all purpose flour Why this? Creates the crumble structure
- 100g (1/2 cup) light brown sugar, packed Why this? For caramelization
- 1g (1/2 tsp) ground cinnamon Why this? Ties the top to the base
- 113g (1/2 cup) unsalted butter, chilled and cubed Why this? Essential for the crisp
- 40g (1/3 cup) chopped pecans Why this? Adds a salty, crunchy contrast
Quick Substitutions:
| Original Ingredient | Substitute | Why It Works |
|---|---|---|
| Half and Half | Whole Milk + 1 tbsp melted butter | Similar fat ratio. Note: Slightly less rich |
| Pecans | Walnuts or Almonds | Similar crunch. Note: Walnuts are slightly more bitter |
| All purpose Flour | Oat Flour | gluten-free option. Note: Topping will be softer |
Basic Tools You'll Need
Basic equipment is all you'll need. Use a large mixing bowl for the filling and a medium one for the topping. To ensure the cinnamon and nutmeg are fully blended without clumps, I prefer using a whisk for the custard base.
When preparing the topping, a pastry cutter is helpful, but you can easily use two forks instead to incorporate the butter into the flour and oats. A 9x9 inch baking pan is the standard size. I typically line mine with parchment paper, allowing me to lift the Pumpkin Crisp out for cleaner slicing.
The Cooking Process
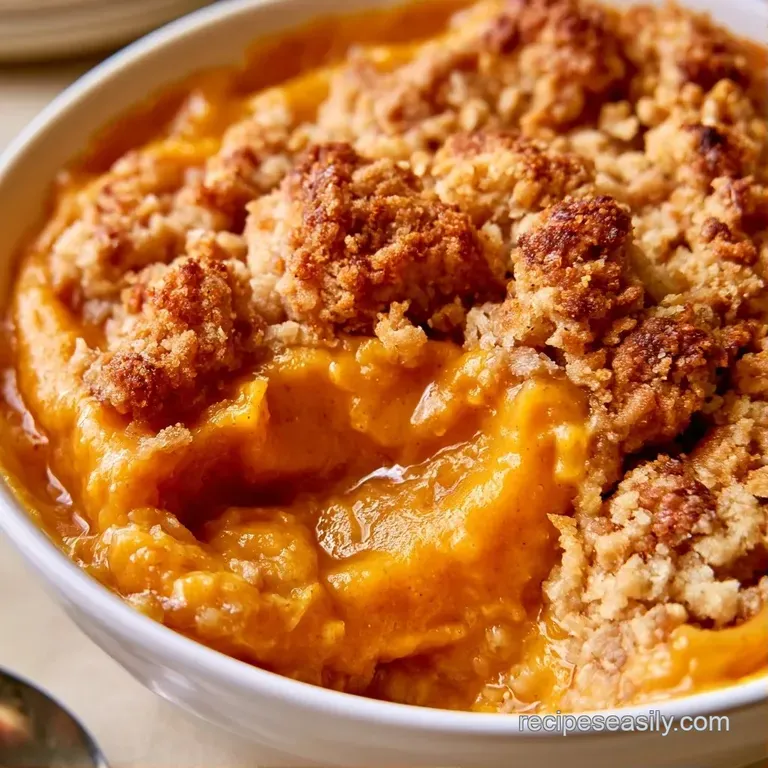
Preparing the Filling
- Preheat your oven to 175°C (350°F). Grease a 9x9 inch baking pan with butter or line it with parchment paper.
- In a large bowl, whisk the egg and brown sugar until the mixture becomes pale and slightly thickened.
- Stir in the pumpkin puree, half and half, cinnamon, nutmeg, and salt. Whisk until the batter is completely smooth.
- Pour the mixture into the pan. Use a spatula to level the top so the Pumpkin Crisp bakes evenly.
Crafting the Topping
- In a medium bowl, combine the rolled oats, flour, brown sugar, and cinnamon.
- Add the chilled, cubed butter. Use a pastry cutter or forks to blend the butter in until you have coarse crumbs with pea-sized lumps. Note: Avoid overmixing to prevent the topping from becoming a paste.
- Fold in the chopped pecans using a spoon.
- Sprinkle the crumble mixture evenly across the pumpkin filling.
Baking to Finish
- Bake for 30 minutes until the topping is golden brown and the edges are set.
- Remove from the oven and let the Pumpkin Crisp cool for 15 minutes before serving.
Chef's Note: To enhance the flavor profile, try adding a pinch of ground ginger to the filling. This adds a subtle zing that balances the richness of the butter.
Common Mistakes & Troubleshooting
Fixing a Soggy Topping
This usually happens if the butter was too warm or if you mixed the topping too much. When butter melts before it hits the oven, it creates a cookie like layer instead of a crisp crumble. To fix this for next time, keep your butter in the fridge until the very second you need it.
Avoiding a Watery Filling
If you see a layer of liquid on top of your Pumpkin Crisp, it's likely because the egg and sugar weren't whisked enough. This emulsion is what holds the moisture. Also, make sure you're using pure pumpkin puree and not "pumpkin pie filling," which has extra water and sugars.
Solving Burnt Edges
Because of the sugar in the topping, the edges can brown faster than the center. If you notice the sides getting too dark at the 20 minute mark, just tent a piece of foil over the top. This allows the center of the Pumpkin Crisp to finish without burning the perimeter.
| Problem | Fix |
|---|---|
| Topping is too soft | Use colder butter and mix less |
| Filling is runny | Whisk egg and sugar until pale |
| Edges burn quickly | Tent with foil after 20 mins |
Creative Twists and Swaps
To make a lighter version, try a Healthy Pumpkin Crisp by replacing the brown sugar in the filling with maple syrup and using coconut oil instead of butter. Though the topping won't be quite as shatteringly crisp, it is still delicious.
For a Vegan Pumpkin Crisp, simply use vegan butter and a mixture of 1 tbsp ground flax and 3 tbsp water.
Alternatively, you can transform this into Pumpkin Crisp Bars. Use a larger pan (like a 9x13) and bake for about 20-25 minutes. Once cooled, slice them into squares, which makes them much more convenient for potlucks.
This dessert pairs beautifully with a scoop of Pumpkin Pie Ice Cream. If you want another creamy treat, a NoBake Pumpkin Cheesecake is a great secondary option.
Quick Decision Guide: Extra crunch? → Add 1/4 cup extra pecans More spice? → Add 1/2 tsp ground ginger Lighter taste? → Swap half and half for almond milk
Keeping It Fresh
The Pumpkin Crisp will keep in the refrigerator for about 4 days. Store it in a sealed container or wrap the pan tightly with aluminum foil. Since it contains a custard base, refrigeration is essential to prevent spoilage.
This dessert stores well in the freezer for 2 months. I recommend freezing individual servings. To enjoy it again, allow it to thaw in the fridge overnight.
Avoid using a microwave if you want to restore the crunch. Instead, place a slice in a toaster oven or standard oven at 175°C (350°F) for 5-8 minutes. This method warms the filling while crisping the oat topping.
Zero Waste Tip: If there's leftover pumpkin puree in your can, freeze it in ice cube trays. You can easily toss these cubes into winter soups or smoothies.
Serving Suggestions
The most classic way to serve a Pumpkin Crisp is warm with a big dollop of whipped cream. The cold cream against the hot custard is the best part. A scoop of vanilla bean ice cream also works, as the melting ice cream creates a sauce for the oats.
For a more modern twist, try a drizzle of salted caramel or a sprinkle of cinnamon sugar on top of the whipped cream. If you're serving this as part of a larger spread, it goes well with a side of fresh sliced pears or apples.
The Pumpkin Crisp is a versatile dessert. You can serve it in a bowl for a cozy, porridge like feel, or slice it into neat squares for a more formal presentation. Either way, the combination of the creamy base and the toasted top makes it a crowd pleaser.
Kitchen Myths
Some people think you need a food processor to get the right crumble texture. That's just not true. Using two forks or a pastry cutter gives you more control over the lump size, which actually leads to a better Pumpkin Crisp topping.
Another common myth is that you should cook the pumpkin puree on the stove before putting it in the pan. While that can thicken the filling, it's an extra step you don't need. The egg and the oven heat do all the work for you.
Finally, some say that adding salt to a dessert ruins the flavor. In reality, the salt in this Pumpkin Crisp is what makes the cinnamon and brown sugar pop. Without it, the dessert tastes flat.
Final Thoughts on This Bake
Making a Pumpkin Crisp is one of those low stress wins in the kitchen. You don't have to worry about a crust shrinking or a cake sinking. As long as your butter is cold and your egg is whisked, you're going to get a great result.
It's a dish that celebrates the best parts of fall. The warmth, the spice, and that satisfying crunch. Whether you're making the traditional version or trying one of the swaps, the Pumpkin Crisp is a reliable way to bring some autumn cheer to your table.
Just remember to let it rest before serving. Trust me on this one. Those 15 minutes make the difference between a messy scoop and a clean, custard like slice. Now, go get your oven preheated and enjoy the smell of a fresh Pumpkin Crisp filling your home.
Recipe FAQs
Does pumpkin crisp need to be refrigerated?
Yes, since the filling contains eggs and half and-half.
Tip: keep it in a sealed container to maintain the topping's texture.
Can I substitute pecans with other nuts?
Yes, walnuts or slivered almonds provide a similar crunch.
Tip: if you enjoy these autumn flavors, pair this dessert with our butternut squash soup for a full seasonal menu.
How to ensure the topping stays crunchy?
Use chilled, cubed butter and blend it with dry ingredients until pea-sized lumps form.
Tip: avoid over mixing the crumble to prevent the butter from melting before it hits the oven.
Is it true that the dessert must cool for hours before serving?
No, and here's why. A brief 15-minute rest is all that is needed for the custard to set properly.
Tip: serve slightly warm with a scoop of vanilla ice cream.
Pumpkin Crisp With Oats