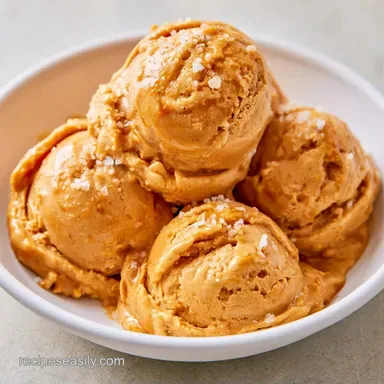
Creamy Salted Caramel Ice Cream Maker Recipe
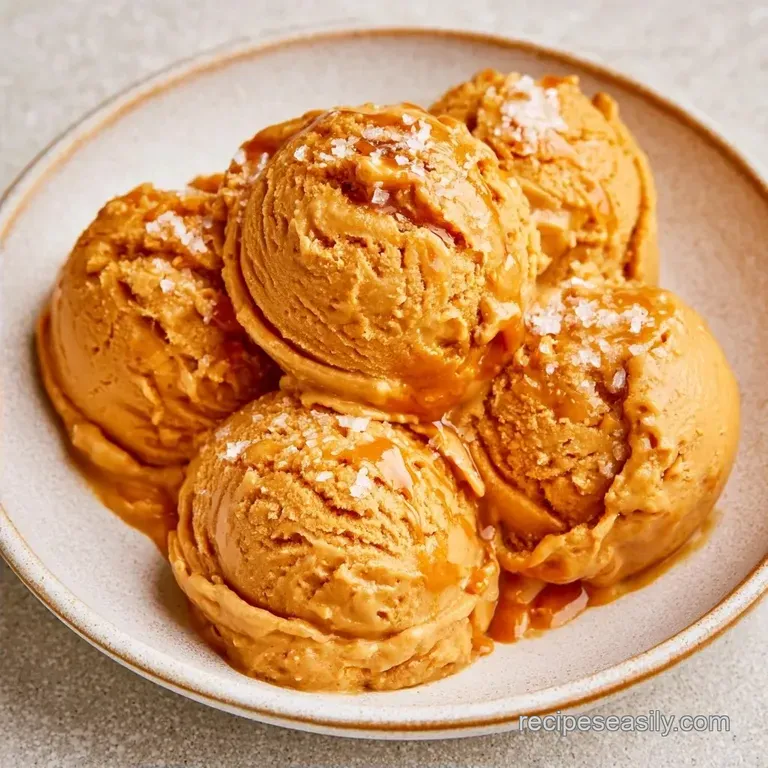
- Time: 30 min active + 28 hours 0 mins chilling/setting
- Flavor/Texture Hook: Intense burnt sugar notes with a luxurious, creamy finish
- Perfect for: Dinner party finales or a relaxing weekend treat
Salted Caramel Ice Cream Maker Recipe
The aroma of simmering sugar always brings back memories of my first attempt at caramel. I tried to wing it, resulting in a pot of charred sludge that reminded me of a bonfire gone wrong.
I used to believe that achieving that perfect salty sweet harmony without the bitterness required a professional degree and a laboratory thermometer.
Let go of the notion that caramel is too daunting for the home kitchen. Professional equipment isn't necessary just a little patience and a watchful eye. This guide to salted caramel ice cream isn't about rigid chemistry; it's about tracking the sugar as it shifts from gold to mahogany.
The result is a treat far more indulgent than any store-bought pint. While the chilling process requires some patience, you'll be rewarded with a dense, creamy scoop that holds its shape.
How to Get the Flavor
- Sugar Temperature: Heating sugar to 340°F creates complex, slightly bitter notes that stop the ice cream from tasting like plain candy.
- High Fat Content: Using both heavy cream and whole milk prevents large ice crystals from forming, which keeps the texture smooth.
- The Deep Chill: A cold base ensures the ice cream maker churns the mixture quickly, resulting in a denser feel.
Recipe Specs
Since we're dealing with sugar and dairy, the method changes the outcome. Most people stick to the stove, but some prefer the oven for the caramel.
| Method | Effort | Result |
|---|---|---|
| Stovetop | High | Intense, burnt sugar flavor |
| Oven | Low | Mild, buttery caramel |
Ingredient Deep Dive
The balance here is a tug of-war between fat, sugar, and salt.
| Ingredient | Role | If You Don't Have It |
|---|---|---|
| Heavy Cream | Provides thickness | Mascarpone (thicker, richer) |
| Whole Milk | Adds fluidity | Evaporated milk (more concentrated) |
| Sea Salt | Cuts the sweetness | Kosher salt (less sharp) |
| Granulated Sugar | Creates the caramel | Maple sugar (adds woody notes) |
The Main Ingredients
For the caramel sauce: - 1 cup (200g) granulated white sugar - 6 tbsp (85g) unsalted butter, room temperature Why this? Helps emulsify the sugar and cream - 1/2 cup (120ml) heavy cream Why this? Stops the cooking process instantly - 1 tsp (6g) flaky sea
Salt - 1 tsp (5ml) vanilla extract
For the ice cream base: - 1 cup (240ml) whole milk - 2 cups (480ml) heavy whipping cream - 1/2 cup (100g) granulated sugar - 1 pinch (1g) salt
Tools You'll Need
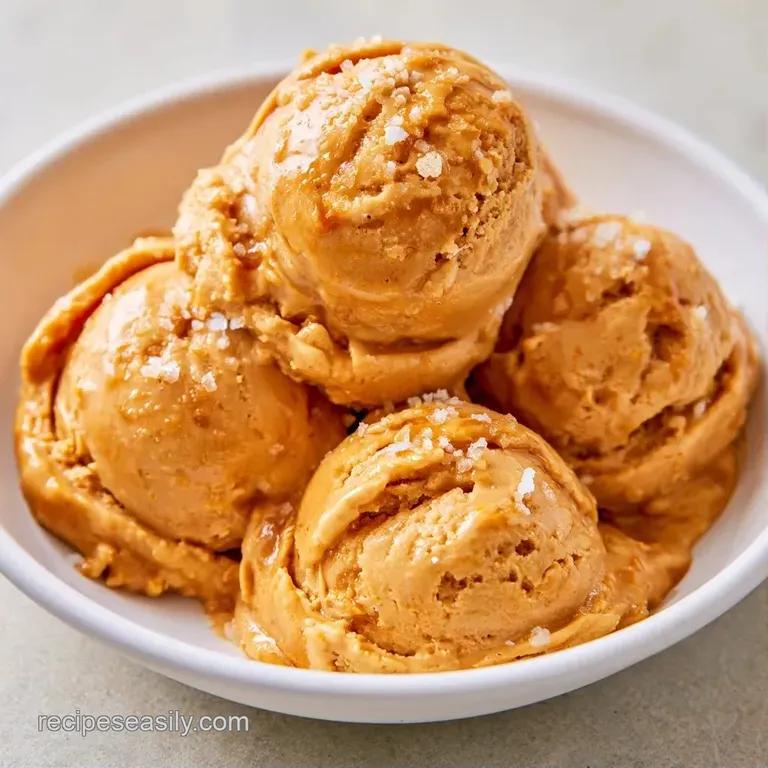
No professional gear is necessary, though some basics help. A heavy bottomed saucepan is a must, as thin pots create hot spots that can burn the sugar in seconds. A whisk and a silicone spatula are also highly useful.
If you own a stand mixer like a KitchenAid, it's excellent for whisking the base, but a manual whisk is perfectly fine. Additionally, ensure your ice cream maker bowl has been in the freezer for at least 24 hours. Without a solid freeze, your ice cream will simply remain a thick soup.
How to Make It
Phase 1: Crafting the Caramel
- Pour 1 cup granulated sugar into the saucepan over medium heat. Stir constantly with a spatula until the sugar melts into a golden liquid.
- Keep heating until the syrup reaches a deep mahogany color (roughly 340°F / 170°C). Watch it closely so it doesn't smoke.
- Remove from heat. Whisk in the butter one tablespoon at a time until the mixture is smooth. Note: It will bubble violently, so keep your face back.
- Stir in 1/2 cup heavy cream and vanilla extract. Fold in the sea salt and set aside to cool to room temperature.
Phase 2: Creating the Chilled Base
- In a large bowl, whisk the whole milk, 2 cups heavy whipping cream, and 1/2 cup sugar until no sugar crystals remain.
- Slowly pour the cooled caramel into the cream mixture. Whisk vigorously until the color is uniform and velvety.
- Cover the bowl and refrigerate for at least 4 hours, or overnight. Note: A cold base is the only way to get a professional texture.
- Churn the chilled mixture in your ice cream maker until it looks like soft serve, following your machine's manual.
Fixing Common Problems
If your caramel turns grainy, it's usually because you stirred the sugar too much at the start or a bit of un melted sugar fell back into the pot. To prevent this, use a wet pastry brush to wash down the sides of the pan.
When the ice cream feels icy, it's often a sign that the base wasn't cold enough or the freezer bowl wasn't frozen. The USDA suggests keeping dairy products at or below 40°F to ensure safety and quality.
Grainy Caramel
This happens when sugar crystallizes. Don't stir too vigorously until the sugar is fully melted.
Icy Texture
Caused by a warm base or slow churning. Ensure the base is chilled for 4+ hours.
Separated Base
The caramel and cream didn't bond. Whisk the caramel in slowly.
| Problem | Fix |
|---|---|
| Grainy Caramel | Wash pan sides with water |
| Icy Texture | Chill base longer |
| Separated Base | Whisk more vigorously |
Make It Your Own
Feel free to customize this Salted Caramel Ice Cream Maker Recipe to suit your preferences. For a more complex, nuttier profile, try using a Brown Butter Caramel Sauce instead of the basic version.
For a spirited touch, stir in a tablespoon of dark rum or bourbon just before churning. If you enjoy a bit of texture, fold in crushed pretzels or toasted pecans during the final two minutes of the churning process.
| Goal | What to change |
|---|---|
| More Salt | Add 1/2 tsp extra flaky salt |
| Richer Base | Swap milk for heavy cream |
| Less Sweet | Reduce base sugar by 2 tbsp |
Saving and Storing
Keep your Salted Caramel Ice Cream Maker Recipe scoops in a freezer safe container. Place a piece of parchment paper or cling film against the top to prevent ice crystals from forming before sealing the lid.
It remains fresh in the freezer for up to 2 weeks. Beyond that, the creamy texture begins to fade, and it becomes more like a solid frozen block.
For a zero waste tip, don't scrub the caramel pot immediately. Pour a bit of hot water into the pan, scrape up the browned bits, and mix that syrup into your morning coffee.
Presentation Tips
To keep the ice cream from melting too quickly, serve it in chilled bowls. Because the taste is so bold, it complements fresh berries or a warm slice of apple cake perfectly.
If you are entertaining, a "dessert flight" is a great idea. Pair a small scoop of this with some Cookie Dough Ice Cream to provide a mix of textures. Finish it off with a dash of Maldon salt and a bit more caramel sauce for a high end, boutique look.
Recipe FAQs
Do I need to add eggs to get a creamy texture?
Actually, no.
Tip: the combination of heavy whipping cream and whole milk provides all the necessary richness without needing a custard base.
Can I substitute the sugar and milk base with condensed milk?
Using condensed milk creates a denser, sweeter treat but alters the traditional flavor balance.
Tip: if you enjoy that velvety density, see how we achieve a similar rich consistency in our coconut pound cake.
How to make this without an ice cream maker?
Pour the chilled mixture into a shallow metal pan and freeze, whisking vigorously every 30 minutes to break up ice crystals.
Tip: repeat the whisking process for about 3 hours until the ice cream is firm enough to scoop.
Is it true that the sugar must reach exactly 340°F for the right flavor?
No, and here's why.
Tip: while 340°F is a great guide, watching for a deep mahogany color is more reliable since stove temperatures vary.
Salted Caramel Ice Cream Maker