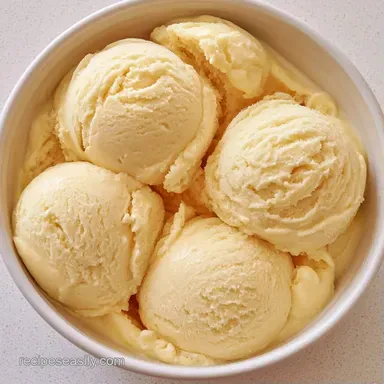
Custard Ice Cream Base: Silky Texture
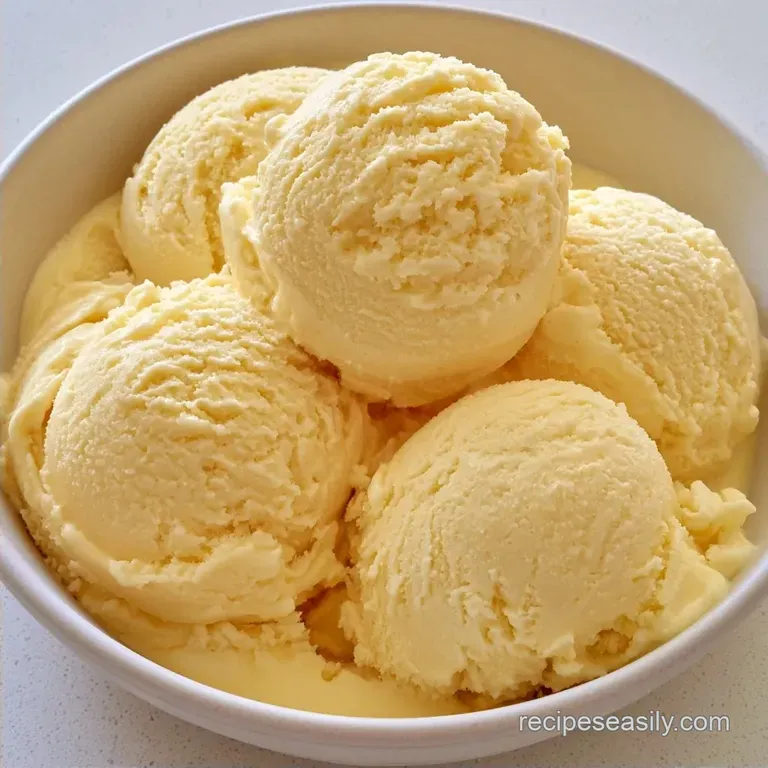
- Time: 15 min active + 6 hours chilling
- Flavor/Texture Hook: Silky and dense
- Perfect for: Homemade churned ice cream or frozen custard
Simple Custard Ice Cream Base
The smell of warm vanilla and simmering cream always takes me back to my first attempt at this. I remember being too impatient, cranking the heat to high, and ending up with something that looked and tasted like sweetened scrambled eggs.
It was a mess, but it taught me that the heat is where the magic (and the danger) happens.
If you want a scoop that feels heavy and luxurious on the tongue, you need a custard. Unlike a simple cream and sugar mix, this one uses egg yolks to bind everything together. It's the difference between a light frozen treat and a professional style scoop.
You're looking at a bit of a waiting game here. While the actual cooking takes about 15 minutes, the chill time is non negotiable. This is the part where the fats stabilize, and the flavors meld. Trust me, skipping the fridge time leads to a grainy result that ruins the whole vibe.
Quick Recipe Specs
Right then, let's look at the timeline. This isn't a "make it and eat it in an hour" kind of project. You've got to plan for the chill.
The active work is fast. You'll spend about 15 minutes prepping and another 15 minutes at the stove. But the total time hits 6 hours 30 mins because that base needs to be ice cold before it ever touches a churner.
If you're planning a dessert for Sunday, start the base on Saturday night.
The yield is exactly 1 quart. This fits most standard home ice cream makers without overflowing. If you have a massive machine, you might want to double the batch, but just keep in mind that larger volumes of custard take longer to heat and cool.
The Trick Behind the Texture
I used to think the eggs were just for flavor, but they do the heavy lifting for the feel of the ice cream.
Egg Yolks: These act as emulsifiers, grabbing onto both the water in the milk and the fat in the cream. This stops the mixture from separating and prevents those annoying ice crystals from forming.
Sugar Ratios: Sugar doesn't just sweeten. It lowers the freezing point of the water, which means the ice cream stays scoopable instead of turning into a solid block of ice.
Since this is a custard, the method differs from a standard freeze. You can compare how you heat the base in the table below.
| Method | Time | Texture | Best For |
|---|---|---|---|
| Stovetop | 15 mins | Dense & Rich | Classic Churning |
| Oven (Bain Marie) | 45 mins | Ultra Smooth | Huge Batches |
What You'll Need
For this to work, don't skimp on the fat. low-fat milk or skim cream will leave you with a watery result. I always use whole milk and heavy cream for that signature mouthfeel.
| Ingredient | Role | If You Don't Have It |
|---|---|---|
| Egg Yolks | Emulsifier | Cornstarch slurry (loses richness) |
| Heavy Cream | Fat/Body | Full fat coconut milk (adds coconut flavor) |
| Granulated Sugar | Sweetness/Freeze Point | Honey (changes flavor, makes it stickier) |
| Whole Milk | Liquid Base | Half and half (reduce heavy cream amount) |
Full Ingredient List
- 2 cups (480ml) whole milk
- 1 cup (240ml) heavy cream
- 1 tsp (5ml) vanilla extract Why this? Real extract beats imitation for a clean taste
- 1/4 tsp (1.25g) fine sea salt Why this? Cuts the sugar and makes vanilla pop
- 5 large egg yolks Why this? Provides the stable emulsion
- 3/4 cup (150g) granulated sugar Why this? Standard sweetness and texture control
Smart Swaps
If you're missing something, you can pivot. Use maple syrup instead of sugar for a woody flavor, but add 2 extra tablespoons of cream to balance the extra liquid. If you want a deeper vanilla, use a vanilla bean pod instead of extract, simmering the seeds directly with the milk.
Equipment Needed
Having the right tools on hand will make this process much smoother.
Start with a heavy bottomed saucepan, as thin pans develop "hot spots" that can scorch custard in an instant. Stainless steel or enamel pots are ideal for even heat distribution. You will also need a whisk for the eggs and either a wooden spoon or silicone spatula for the thickening process.
A fine mesh strainer is a must. Even with care, some egg fragments may overcook, and straining them ensures a perfectly smooth base. Finally, choose a shallow bowl for chilling to cool the liquid more quickly than a deep jar would.
From Prep to Plate
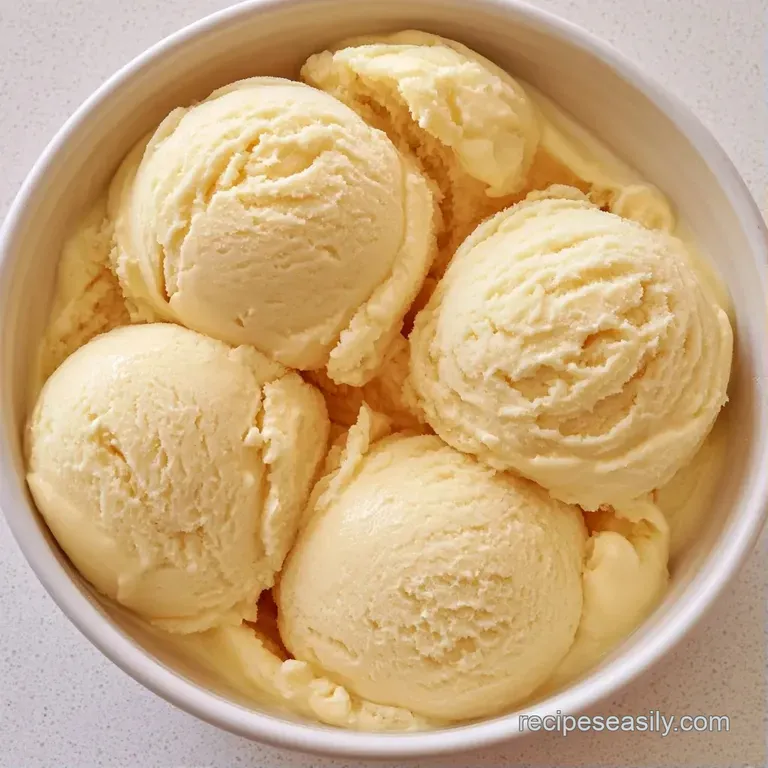
Let's get started. Success here depends on being patient while heating the dairy.
- Combine the whole milk, heavy cream, salt, and vanilla in a medium, heavy bottomed saucepan.
- Cook over medium heat, stirring occasionally, until small bubbles form around the edges. Remove from the heat immediately.
- In a separate heatproof bowl, whisk the egg yolks and granulated sugar until the mixture turns pale yellow.
- Gradually drizzle about 1/2 cup (120ml) of the hot dairy into the yolks, whisking constantly. Note: This prevents the eggs from scrambling.
- Pour the tempered egg mixture back into the saucepan with the remaining dairy.
- Place over low heat and stir constantly with a whisk, scraping the bottom, until the custard coats the back of a spoon (about 170°F / 77°C).
- Immediately strain the custard through a fine mesh sieve into a clean bowl.
- Lay a piece of plastic wrap flat across the surface. Note: This stops a skin from forming.
- Refrigerate for 6 hours or overnight.
Chef Note: If you see the custard starting to bubble or "boil" at the bottom, pull it off the heat instantly. It carries over enough heat to finish cooking even after it's off the burner.
Avoiding Kitchen Disasters
Most people panic when the custard looks weird, but most of these issues are easy to fix.
Fixing Curdled Custard
If you see tiny lumps of egg, you probably heated it too fast. If it's just a few bits, the strainer will catch them. If it looks like cottage cheese, a quick pulse with an immersion blender can often save it.
Preventing Scorched Bottoms
The bottom of the pan is the danger zone. Use a flat edged wooden spoon to scrape every inch of the base. If you smell something toasted, stop stirring and move the pan to a cool burner.
Managing Thin Base
If your custard doesn't coat the spoon, it hasn't reached the right temp. Keep stirring over low heat for another 2-3 minutes. Don't just turn up the heat, or you'll scramble the eggs.
| Problem | Root Cause | Solution |
|---|---|---|
| Grainy texture | Overcooked eggs | Pass through a fine mesh strainer |
| Too liquid | Underheated | Cook longer at low heat until 170°F |
| Skin on top | Air exposure | Press plastic wrap onto the liquid |
Adjusting Batch Size
Whether you are prepping for a party or just making a small treat, this Ice Cream Base is easy to scale.
For a half batch, use 2-3 egg yolks (whisk one and use half) and halve all other ingredients. Use a smaller saucepan to maintain the proper liquid balance, and reduce your cooking time by about 20%.
When doubling or tripling the recipe, avoid simply multiplying the salt and vanilla by three. Increase those aromatics by 1.5x or 2x instead, otherwise the salt may become too dominant. If your pan is too small, work in batches, as overheating a massive pot of custard is a recipe for disaster.
Busting Ice Cream Myths
Some common misconceptions exist regarding this technique. For starters, avoid boiling the custard to achieve a thicker consistency. Doing so disrupts the emulsion and will likely curdle the eggs.
You might also hear that increasing the cream content ensures a smoother result. In reality, excessive fat can coat your palate and dampen the flavor. This specific ratio of milk and cream ensures the vanilla notes remain vibrant.
Lastly, a 10-minute ice bath cannot replace the chilling stage. The mixture requires several hours of refrigeration to allow the fat crystals to properly reorganize.
Storage and Scraps
Store the chilled base in an airtight glass jar and refrigerate for a maximum of 3 days. While you can freeze the base if you aren't ready to churn it, doing so while fresh is recommended for the best quality.
To avoid waste, find a use for the leftover egg whites; I typically whip them into a fast meringue or stir them into my morning omelet. If there is any dairy mixture remaining in the pan, simply add a splash of milk to thin it out and enjoy it as a decadent vanilla drink.
Flavor Twists
Once you have this basic custard, you can turn it into almost anything. For a chocolate version, whisk in 1/2 cup of cocoa powder during the heating phase. For a fruity vibe, stir in a 1/2 cup of raspberry puree after the base has cooled.
If you're looking for something completely different, you might try a Cookie Dough Ice Cream recipe for guests who avoid dairy.
Decision Shortcut:
- Richer flavor? → Use 6 yolks instead of 5
- Lighter feel? → Swap 1/2 cup of cream for whole milk
- Deeper aroma? → Add a pinch of cinnamon to the milk
Serving Ideas
This vanilla bean base is delicious on its own, but it truly shines when paired with other sweets. I recommend a scoop alongside a piece of warm Banana Cream Pie for a double dose of creaminess.
For a more sophisticated dessert, top it with toasted hazelnuts and a drizzle of salted caramel. For the children, stir in mini chocolate chips and rainbow sprinkles just before the churning is complete.
Prevent the scoops from melting by popping your bowls in the freezer for 10 minutes before serving. This keeps the ice cream firm the moment it hits the bowl.
Recipe FAQs
How to prepare the custard base?
Combine whole milk, heavy cream, salt, and vanilla in a saucepan and heat to a simmer. Temper in whisked egg yolks and sugar, then stir over low heat until it reaches 170°F.
What prevents homemade ice cream from becoming icy?
Incorporate heavy cream and egg yolks to raise the overall fat content. These fats block large ice crystals from forming, ensuring a smoother mouthfeel.
Ways to churn the base in an ice cream maker?
Pour the chilled custard into the frozen canister and process until thickened. This incorporates air into the dairy for a professional, light consistency.
Is it true that custard bases are too complex for home cooks?
That isn't accurate. The technique simply involves warming the dairy and tempering the eggs to achieve a richer outcome than basic blends. If you love this velvety texture, try a similar method in our coconut pound cake.
Can this be made without a machine?
Freeze the chilled base and stir it vigorously every 30 minutes. This manual agitation breaks up ice crystals to create a creamy, scoopable texture.
Custard Ice Cream Base