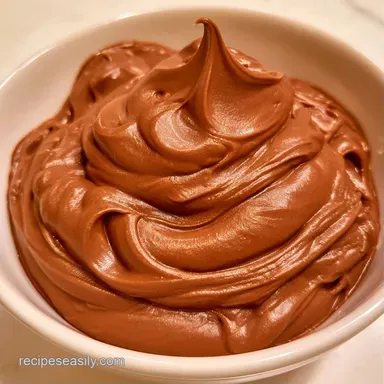
Homemade Chocolate Soft Serve with Cocoa Powder
- Time: 10 min active + 24 hours chilling
- Flavor/Texture Hook: Thick, glossy, and chocolatey
- Perfect for: Warm afternoons or a decadent midnight snack
Chocolate Soft Serve without the ice
There is nothing worse than spending a whole day waiting for a dessert to freeze, only to scoop into something that feels like frozen sand. I've had those moments where the mix looked great in the bowl, but the final result was a gritty, crystalline mess that hurt your teeth.
It happens when the water in the milk freezes into large shards instead of staying small and smooth.
This recipe fixes that by balancing the sugar and fats. We aren't just adding sweetness, we're actually lowering the freezing point of the mix. This means your Chocolate Soft Serve stays soft and scoopable even after a long stint in the freezer.
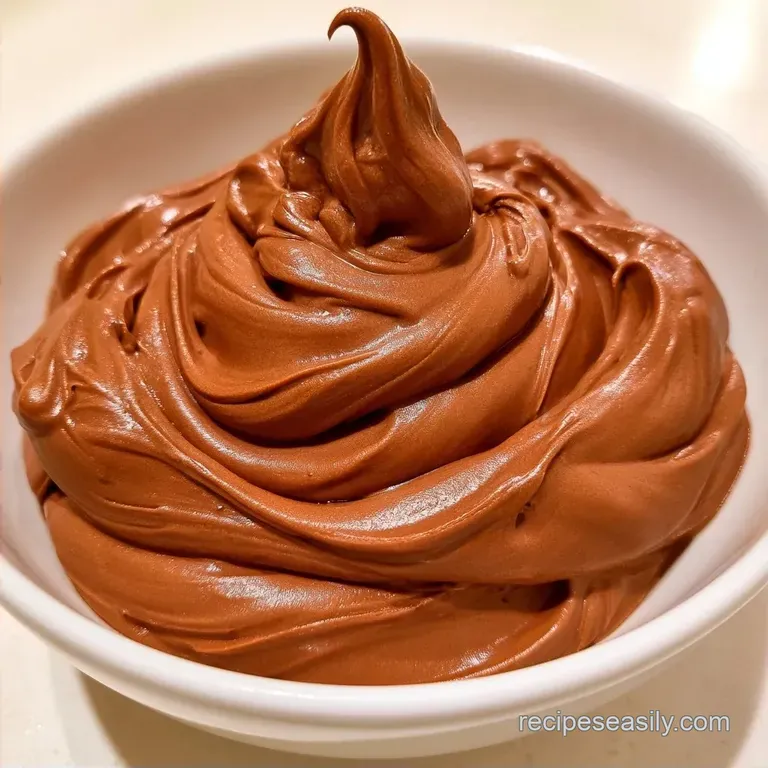
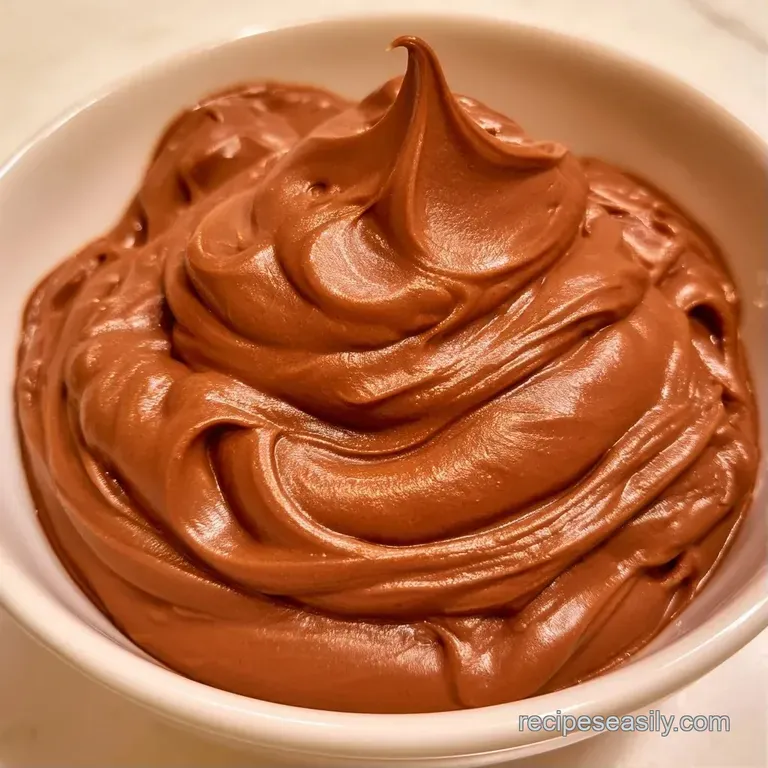
You can expect a rich, mahogany colored treat that swirls perfectly. It doesn't require a fancy custard base or hours of stovetop stirring, just a few quality ingredients and a bit of patience.
Why this texture works
- Sugar as Anti freeze: Sugar prevents large ice crystals from forming. It keeps the mixture supple so it doesn't freeze into a solid brick.
- Dual Chocolate Source: Combining cocoa powder and melted chocolate provides both deep flavor and structural fat. This is why this recipe feels richer than versions using only cocoa.
Since this is all about the chocolate, you might also enjoy a chocolate cake for a full dessert spread.
| Base Method | Time | Texture | Best For |
|---|---|---|---|
| Cold Mix | 10 min | Light, airy | Quick prep |
| Heated Base | 30 min | Dense, fudgy | Ultra rich flavor |
Quick recipe specs
This version is a homemade chocolate soft serve no eggs recipe, which keeps the flavor clean and the prep time minimal. It is designed for those who want a high end result without the risk of curdling a custard.
| Goal | What to change |
|---|---|
| Richer taste | Use dark chocolate (70%+) |
| Thicker swirl | Reduce milk by 2 tbsp |
| Less sweet | Cut sugar by 1 tbsp |
The chocolate lineup
| Ingredient | Role | Alternative |
|---|---|---|
| Heavy Cream | Ensures a creamy texture | Full fat coconut milk (adds a nutty taste) |
| Semi sweet Chocolate | Offers richness and structure | Dark chocolate (for a more bitter profile) |
| Cocoa Powder | Delivers a bold chocolate hue and taste | Dutch process cocoa (for a smoother flavor) |
| Whole Milk | Modulates the consistency | Cashew milk (creamy with a hint of nut) |
For the base
- 1.5 cups heavy cream Reason: The high fat content stops ice crystals from forming
- 1 cup whole milk Reason: Prevents the mix from becoming overly dense
- 0.5 cup granulated sugar Reason: Regulates the freezing temperature
- 1/3 cup unsweetened cocoa powder Reason: Necessary for a rich, dark shade
- 2 oz semi sweet chocolate, melted Reason: Creates a fudgy consistency
- 1 tsp vanilla extract Reason: Brings out the chocolate flavors
- 1/4 tsp fine sea salt Reason: Balances out the sweetness
For the finish
- 1/4 cup mini chocolate chips
- 1 tbsp cocoa powder
Tools for the job
While a standard kitchen is plenty, a couple of key tools will make this process much easier. A whisk is essential for eliminating any cocoa clumps.
- Large mixing bowl
- Whisk or handheld mixer
- Freezer safe pint container
- Processing machine (like a Ninja Creami)
Step by step process
Phase 1: Mixing the base
- Whisk the sugar, cocoa powder, and salt in a bowl. Note: Mixing dry ingredients first prevents cocoa clumps.
- Slowly stream in the whole milk and heavy cream, whisking constantly until the mixture is smooth.
- Stir in the melted chocolate and vanilla extract until the mixture is a uniform, glossy mahogany color.
Phase 2: The deep freeze
- Pour the mixture into your freezer safe container, ensuring it is level.
- Freeze for a minimum of 24 hours until the base is completely solid to the touch.
Phase 3: Processing for texture
- Place the frozen base into your processing machine and process on the 'Soft Serve' or 'Ice Cream' setting.
- If the texture appears powdery or crumbly after the first spin, add 1 tbsp of milk and 're spin' until the consistency becomes a velvety, thick swirl.
- Fold in the mini chocolate chips by hand.
Fixing texture issues
Sometimes the first spin doesn't go as planned. This is usually due to the temperature of your freezer. If your freezer is set to a very low temperature, the base becomes too hard for the blades to shear perfectly on the first pass.
Dealing with powdery results
A powdery look happens when there isn't enough liquid to emulsify the fats during the spin. This is the most common issue when making an easy homemade chocolate soft serve.
Fixing a grainy feel
Graininess usually comes from sugar that didn't dissolve or cocoa that stayed in clumps. Ensure you whisk the dry ingredients thoroughly before adding liquids.
| Problem | Fix |
|---|---|
| Powdery/Crumbly | Add 1 tbsp milk and re spin |
| Grainy Texture | Whisk dry ingredients longer |
| Too Hard to Spin | Let sit at room temp for 5 mins |
Swaps and tweaks
If you're looking for a different vibe, you can easily pivot. For those who love variety, this pairs well with a cookie dough ice cream for a duo platter.
Dark Chocolate Version
Swap the semi sweet chocolate for 70% cocoa dark chocolate. This makes a more adult, less sweet version of the best homemade chocolate soft serve.
High Protein Twist
Replace the whole milk with a chocolate protein shake. Note: This will make the texture slightly denser, so you will likely need a re spin with a splash of extra milk.
Minty Fresh
Add 1/2 tsp of peppermint extract to the base. It turns this into a mint chocolate chip treat if you keep the mini chips.
Keeping it fresh
Keep any remaining portions in an airtight container in the freezer. Since this homemade chocolate soft serve uses cocoa powder, it remains stable longer than fruit based treats, maintaining its quality for roughly 2 weeks.
Should the dessert freeze too solidly, leave it at room temperature for 5 to 10 minutes before scooping. This allows the fats to soften just enough to restore that signature swirl.
To minimize waste, if you have a bit of base left that didn't freeze properly, stir it into a bowl of warm oatmeal or use it as a creamer for your coffee.
Serving suggestions
Since this is a decadent treat, balance is key. I recommend serving it in a chilled glass bowl to preserve its shape for longer.
The Classic Contrast
Garnish the swirls with sliced strawberries or fresh raspberries. The tartness of the berries helps cut through the richness of the chocolate and cream.
The Dessert Plate
For a more indulgent experience, serve a scoop alongside a warm brownie. The way the soft serve melts into the heated cake is wonderful. Adding a pinch of flaky sea salt on top can also make the chocolate flavor stand out.
You're now set to create a perfect batch. While this homemade chocolate soft serve requires some waiting, the outcome is worth every hour spent in the freezer. Remember to verify it's solid before you spin, and feel free to spin it a second time if it appears too crumbly. Happy scooping!
Recipe FAQs
How to make chocolate soft serve at home?
Whisk sugar, cocoa powder, and salt in a bowl. Stream in milk and cream, stir in melted chocolate and vanilla, freeze for 24 hours, and then process on the soft serve setting.
What ingredients are required for this recipe?
Combine heavy cream, whole milk, granulated sugar, and cocoa powder. You will also need melted semi sweet chocolate, vanilla extract, fine sea salt, and mini chocolate chips.
Is it true that homemade soft serve is always icy?
Actually, that is a misconception. The richness of heavy cream, when paired with mechanical churning, creates that smooth, velvety consistency. For another example of this approach, check out our vegan cookie dough.
Why does the texture appear powdery after spinning?
Add 1 tbsp of milk and re-spin. This simple adjustment eliminates crumbles and transforms the frozen base into a thick, velvety consistency.
Which method avoids cocoa clumps?
Stream the milk and cream slowly while whisking constantly. This technique ensures the powders incorporate fully into a uniform, glossy mahogany color.
Homemade Chocolate Soft Serve