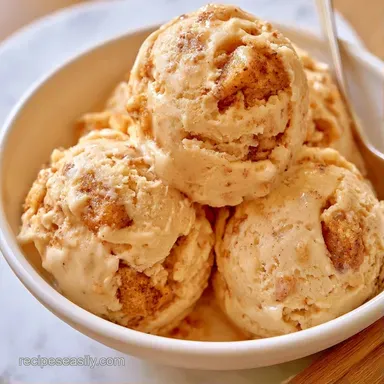
Birthday Cake Ice Cream Recipe with Condensed Milk
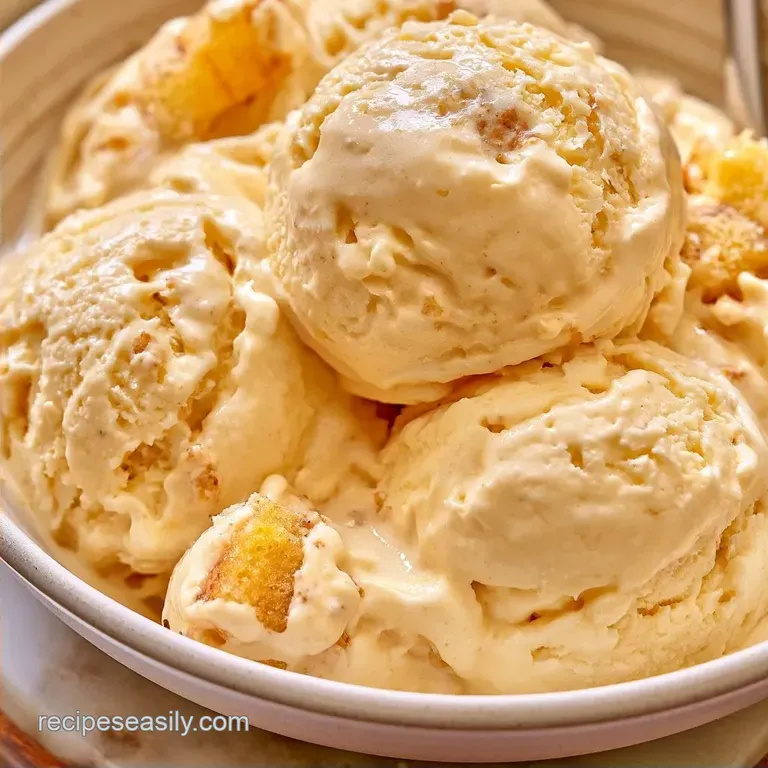
- Time: 15 min active + 4 hours chilling
- Flavor/Texture Hook: Creamy vanilla base with buttery cake chunks
- Perfect for: Birthday parties or nostalgic cravings
The sound of a freezer door clicking shut usually means hope, but for me, it used to mean disappointment. I spent years making homemade ice cream that looked great coming out of the machine but turned into a literal brick of ice after a night in the freezer.
I'd try to scoop it, and instead of a smooth curl, I'd get jagged shards of frozen cream that felt more like a popsicle than a dessert.
The problem is water. When you freeze a standard cream base, the water molecules bond into large crystals. That's where the "icy" feeling comes from. I found that by swapping a traditional sugar and egg base for sweetened condensed milk, the sugar concentration stays high enough to keep those crystals tiny.
This Birthday Cake Ice Cream Recipe fixes that brick like texture. You get a rich, heavy base that stays soft enough to scoop even after a few days. It tastes exactly like a party in a bowl, with bits of cake and sprinkles that don't just sink to the bottom.
Birthday Cake Ice Cream Recipe
Let's start with the fundamentals. This batch yields roughly 12 portions. Mixing and churning takes about 15 minutes, though you'll need patience for the freezing process. While it's edible right away as a soft serve, letting it set for the full 4 hours ensures perfect, rounded scoops.
If you're short on time or lack a machine, a no-churn approach works well. Simply omit the churning phase and freeze the mix in a loaf pan for 6 hours. It will be denser than the churned version, but just as delicious.
For the cake mix-ins, I typically opt for a store-bought pound cake or a homemade classic yellow cake that has cooled completely. Make sure the cake is a bit dry; if it's too moist, it can become mushy when combined with the cream.
Why the Base Stays Soft
Condensed Milk: The high sugar content lowers the freezing point, which stops large ice crystals from growing.
Whipped Cream: Beating air into the heavy cream creates a foam that keeps the final product from feeling like a frozen block of fat.
Since the fat and sugar are so concentrated, the ice cream resists that "grainy" feel. Serious Eats' testing shows that higher sugar concentrations in frozen desserts lead to a smoother mouthfeel.
| Method | Time | Texture | Best For |
|---|---|---|---|
| Churned | 25 mins | Airy and light | Classic scoops |
| No Churn | 6 hours | Dense and rich | Quick prep |
| Creami | 2 hours | Ultra dense | Single servings |
The Ingredient Breakdown
Almond extract is the secret weapon in this recipe. Without it, you're essentially making vanilla ice cream. It's the almond that provides that nostalgic "birthday cake" or "wedding cake" essence, giving it a truly authentic taste.
| Ingredient | What It Does | Best Swap |
|---|---|---|
| Heavy Cream | Creates the rich, creamy texture | Full fat coconut milk (adds coconut notes) |
| Condensed Milk | Sweetens and stops ice crystals | Evaporated milk + 1/2 cup sugar (thinner consistency) |
| Vanilla Cake | Contributes flavor and bulk | Pound cake or angel food cake |
| Almond Extract | Delivers that signature cake scent | Extra vanilla (more generic flavor) |
For the Creamy Base
- 2 cups heavy whipping cream, chilled Why this? Higher fat prevents ice crystals
- 1 can (14 oz) sweetened condensed milk Why this? Provides sweetness and stability
- 1 tbsp pure vanilla extract Why this? A traditional aromatic foundation
- 1 tsp almond extract Why this? Crucial for that authentic cake flavor
- 1/2 tsp fine sea salt Why this? Balances out the high sugar content
For the Celebration Mix ins
- 2 cups crumbled vanilla cake Why this? For the genuine cake experience
- 1/2 cup rainbow sprinkles Why this? Provides the classic birthday look
- 1/4 cup mini rainbow chocolate chips Why this? Adds cocoa notes and a bit of crunch
Tools for the Job
While you don't need professional equipment, having a few basics will make this process much easier. You can use either a stand mixer or a handheld electric mixer to whip the cream.
- Large mixing bowl (for the condensed milk base)
- Medium chilled bowl (for whipping the cream)
- Silicone spatula (crucial for folding)
- Ice cream maker (unless using a no-churn method)
- Airtight, freezer safe container
How to Make It
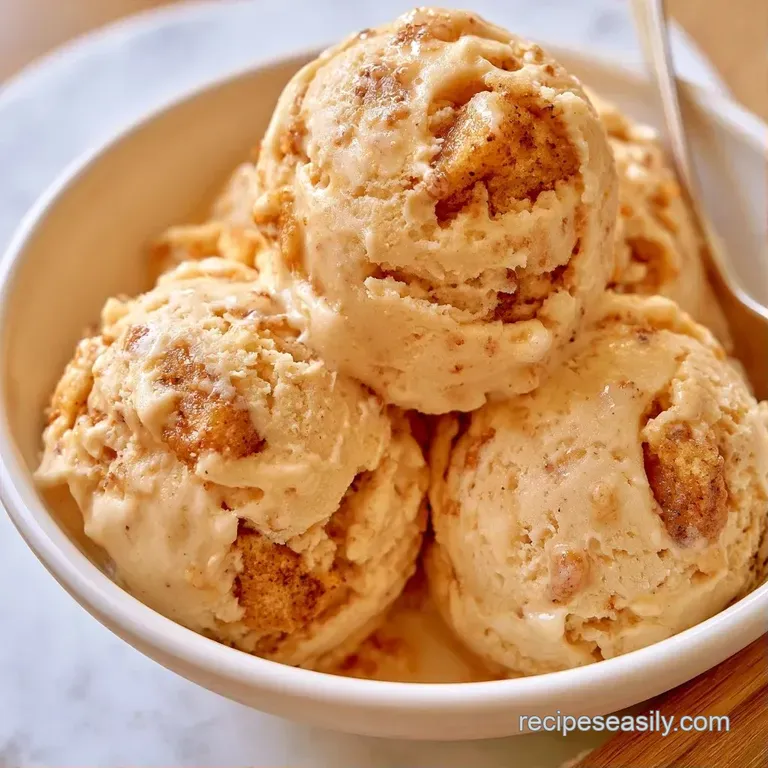
Phase 1: Preparing the Base
- Whisk the sweetened condensed milk, vanilla extract, almond extract, and sea salt in a large bowl. Mix until the salt is dissolved and the mixture looks glossy.
- Beat the chilled heavy cream in a separate bowl. Whisk until stiff peaks form, meaning the cream stands up straight when you lift the beaters.
- Gently fold the whipped cream into the condensed milk mixture. Note: Use a silicone spatula and a "cut and fold" motion to keep the air in.
Phase 2: The Churning Process
- Pour the mixture into your ice cream maker. Churn according to your machine's instructions.
- Continue churning for 15–25 minutes until it reaches a soft serve consistency. It should look thick and hold its shape on the paddle.
Phase 3: The Final Fold In
- Add the crumbled vanilla cake, sprinkles, and chocolate chips during the final 2 minutes of churning. Note: Adding them too early can over mix the cake and make it disappear.
- Transfer the ice cream to your container. Chill for at least 4 hours or overnight.
Chef's Note: If your cake crumbles are too large, they can clog the churner. Aim for pieces about the size of a pea for the best distribution.
Fixing Common Issues
I frequently see "ice cream burnout," where the base warms up too much before it hits the churn. In a hot room, heavy cream can begin to melt while you whisk. To avoid this, keep your bowls in the fridge for 10 minutes before starting.
Another common issue is "sprinkle bleed." If stored in the freezer for two weeks, the sprinkle colors may seep into the white cream. It's still safe to consume, though it looks less appealing.
If the Ice Cream is Too Icy
This is usually the result of a loose seal. When air seeps in, moisture evaporates, creating ice crystals on the surface. Lay a sheet of parchment paper across the top of the ice cream before closing the lid.
If the Mix-ins Sink
This happens if the base is too runny. Be sure to whip your cream to stiff peaks; an airy, thick consistency ensures the chips and cake stay suspended instead of sinking.
| Problem | Root Cause | Solution |
|---|---|---|
| Icy top layer | Air exposure | Lay parchment paper on top |
| Cake turns to mush | Cake was too moist | Use toasted or dry cake crumbles |
| Hard to scoop | Freezer too cold | Let sit at room temp for 5 mins |
| Grainy texture | Condensed milk not mixed | Whisk base longer before adding cream |
Creative Twists and Swaps
If you want to change the vibe, you can easily swap the cake. I've tried this with red velvet cake and a hint of cocoa powder in the base, and it's a hit. For another treat with a similar vibe, you might like my cookie dough ice cream which uses a similar high fat base.
Decision Shortcut:
- Extra tang? → fold in 1 tsp lemon zest
- Richer flavor? → use browned butter cake crumbles
- Less sweet? → add a pinch more sea salt
For an Eggless Birthday Cake Ice Cream Recipe
This version is already eggless! Since we use condensed milk instead of a custard, you don't have to worry about tempering eggs or raw yolk concerns.
For a Ninja Creami Version
If you have a Creami, don't whip the cream first. Just whisk all the base ingredients together, freeze the pint for 24 hours, and use the "Ice Cream" setting. Stir in the cake and sprinkles using the "Mix in" function at the end.
Keeping It Fresh
Keep your ice cream in an airtight, freezer safe container. It will remain fresh for approximately 2 weeks, after which the sprinkles may fade or freezer burn may develop.
Pro Tip: Rather than discarding cake scraps that aren't suitable for the mix-ins, toast them in a pan with a bit of butter until they are crisp like croutons. This ensures they stay crunchy inside the ice cream.
Serving Suggestions
The best way to serve this is in a chilled bowl to keep it from melting too fast. I like to add a dollop of whipped cream and a single birthday candle on top for the full effect.
If you're feeling fancy, make a Birthday Sandwich. Take two warm, toasted vanilla wafers and put a big scoop of this ice cream in the middle. Press them together and freeze for 30 minutes. It's a total crowd pleaser at parties.
Recipe FAQs
What ingredients create the birthday cake flavor?
The flavor comes from a blend of vanilla and almond extracts. This is mixed with chunks of vanilla cake and rainbow sprinkles for a nostalgic taste.
Does this differ from cake batter ice cream?
Cake batter flavors usually incorporate flour for a raw dough taste. This recipe uses a creamy vanilla base with actual cake pieces for a cleaner, dessert like finish.
Why does this version taste so rich?
The combination of sweetened condensed milk and heavy cream creates a dense, velvety mouthfeel. If you enjoyed controlling the density here, the same fat ratio logic applies to our cookie dough bars.
Which mix-ins work best here?
Fold in crumbled vanilla cake, rainbow sprinkles, and mini rainbow chocolate chips. These provide the colorful look and buttery texture associated with a celebration cake.
Is it true that birthday cake ice cream requires a custard?
Not true. This recipe uses a no-cook method with condensed milk to achieve a professional texture without the effort of tempering eggs.
How to use an ice cream maker for this?
Pour the folded mixture into the machine and churn per the manufacturer's instructions. Add the cake, sprinkles, and chips during the final 2 minutes of churning.
Birthday Cake Ice Cream