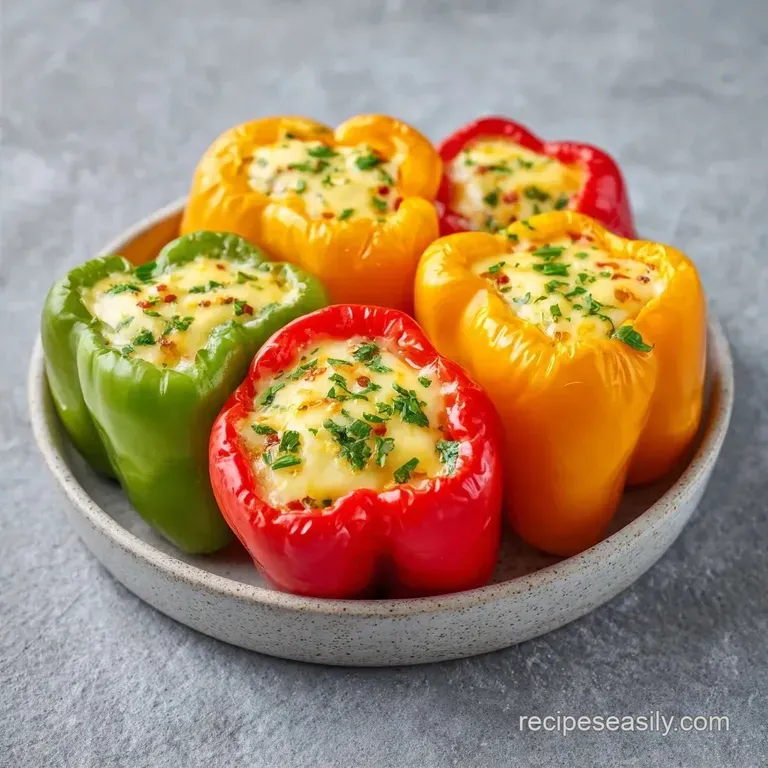
Healthy Stuffed Mini Peppers for Kids
- Time: 10 min active + 20 min baking
- Flavor/Texture Hook: Velvety cheese filling with a smoky, charred pepper snap
- Perfect for: Holiday appetizers, game day snacks, or healthy kid friendly finger foods
- Quick and Easy Stuffed Mini Peppers
- The Secret to No Soggy Peppers
- The Component Analysis
- The Essential Ingredient List
- Minimal Gear for Fast Prep
- Step-by-Step Stuffing Guide
- Fixing Common Pepper Problems
- Troubleshooting Common Issues
- Creative Twists and Scaling
- Storing and Reheating Tips
- Serving and Plating Ideas
- Recipe FAQs
- 📝 Recipe Card
The smell of roasting sweet peppers is one of those scents that just fills a kitchen and makes everyone wander in to see what's happening. I remember the first time I tried making these for a party. I didn't pat the peppers dry, and they ended up steaming in the oven.
They were tasty, but they had that limp, soggy texture that just isn't right.
Since then, I've learned a few tricks to get that perfect balance. You want the pepper to still have a bit of a "snap" to it, while the cheese inside is hot, bubbly, and just starting to brown on top.
Whether you're making cream cheese stuffed mini peppers for a fancy brunch or just a quick snack, the key is in the prep.
These are honestly a lifesaver when you have picky eaters. I've found that Stuffed Mini Peppers Kids actually enjoy because they're small and the cheese masks the "veggie" taste. They're bright, colorful, and take almost no effort to put together.
Quick and Easy Stuffed Mini Peppers
The secret to these is the contrast. You've got the natural sweetness of the mini peppers hitting that salty, tangy cheese blend. By using a high temperature, we get a quick roast on the outside before the filling can leak out.
If you're looking for something that feels a bit more substantial than a veggie tray but is faster than a full meal, this is it. It's the kind of recipe you keep in your back pocket for when you realize you forgot to make a starter for dinner.
Right then, let's get into the details of how to make these happen without any stress. Trust me on the drying step, it's the only thing that really matters for the final texture.
The Secret to No Soggy Peppers
I've spent a lot of time figuring out why some peppers turn into water logged messes. It's all about managing the moisture and the heat.
Surface Tension: Patting the inside of the pepper dry prevents steam from building up between the cheese and the wall of the pepper. This keeps the filling from sliding out.
Fat Stabilization: Mixing Greek yogurt with cream cheese creates a more stable emulsion. According to USDA FoodData, the protein structure in Greek yogurt helps the filling hold its shape better under high heat.
Over High heat Searing: Baking at 400°F ensures the pepper skins blister and the cheese browns quickly. A lower temp would just cook the pepper until it collapses.
Air Circulation: Leaving space between the peppers on the tray allows hot air to hit the sides, giving you that roasted flavor instead of a steamed one.
Since you can prepare these in a few different ways, here is a quick look at how the method changes the result.
| Method | Time | Texture | Best For |
|---|---|---|---|
| Oven Bake | 20 mins | Charred & Bubbly | Large crowds / Parties |
| Stovetop | 10 mins | Soft & Steamed | Quick weekday snacks |
| Air Fryer | 12 mins | Crispy & Intense | Small batches (4-6) |
Right after the method, we need to look at what's actually going into the filling.
The Component Analysis
Not every ingredient is just for flavor. Some are there to do a specific job in the oven.
| Ingredient | Science Role | Pro Secret |
|---|---|---|
| Neufchatel | Base Structure | Use this instead of full cream cheese for a slight tang and lower calorie count |
| Greek Yogurt | Moisture Balance | Adds a velvety texture and prevents the cheese from becoming too oily |
| Smoked Paprika | Flavor Depth | Adds a "grilled" taste without needing an actual grill |
| Parmesan | Crust Formation | The dry nature of Parm creates a golden "cap" that seals in the filling |
The Essential Ingredient List
I prefer using Neufchatel because it's a bit easier to mix and has a brighter taste, but standard cream cheese works too. Honestly, don't even bother with low-fat cheddar, it doesn't melt nearly as well.
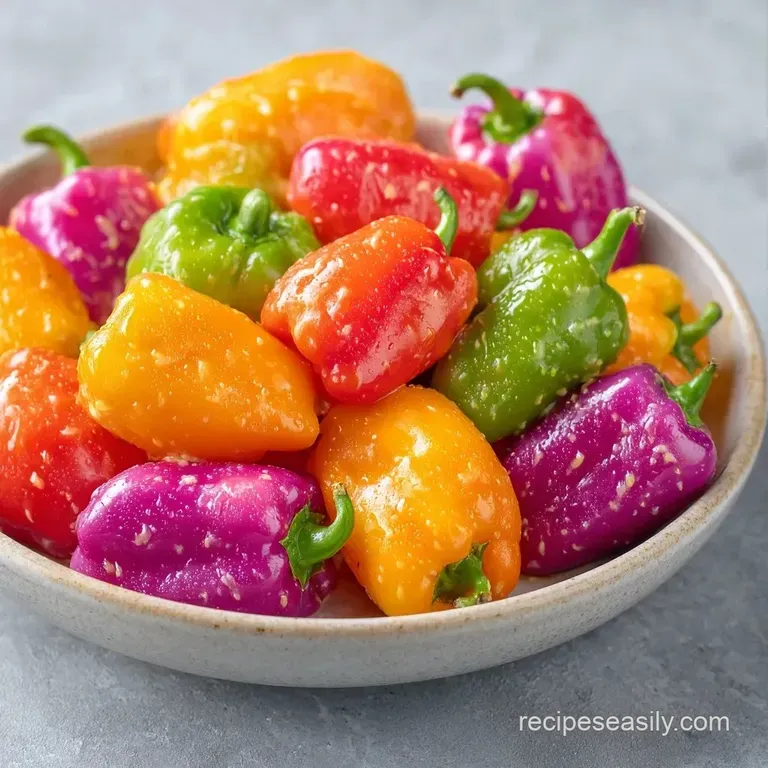
- 12 oz mini sweet peppers, assorted colors Why this? More consistent sweetness than large bell peppers
- 4 oz Neufchatel or low-fat cream cheese, softened Why this? Provides the creamy, stable base
- 2 tbsp plain Greek yogurt Why this? Lightens the texture and adds tang
- 1/4 cup shredded mild cheddar cheese Why this? Adds a salty, melted pull
- 1/2 tsp garlic powder Why this? Distributes flavor more evenly than fresh garlic
- 0.5g salt Why this? Enhances the natural sweetness of the peppers
- 1 tbsp grated Parmesan cheese Why this? Creates the golden brown top
- 1/2 tsp smoked paprika Why this? Gives a woody, roasted aroma
Substitution Ideas
| Original Ingredient | Substitute | Why It Works |
|---|---|---|
| Neufchatel | Goat Cheese | Much tangier. Note: Filling will be softer and more pungent |
| Greek Yogurt | Sour Cream | Similar acidity. Note: Slightly heavier mouthfeel |
| Mild Cheddar | Pepper Jack | Adds a kick. Note: Best for adults, too spicy for toddlers |
| Smoked Paprika | Cumin | Earthier flavor. Note: Shifts the profile toward a Mexican style |
Minimal Gear for Fast Prep
You don't need a fancy kitchen to pull this off. I usually just use a bowl and a spoon, but there are a couple of shortcuts.
For the filling, a medium mixing bowl is fine. If you want them to look like they came from a restaurant, use a piping bag or a Ziploc bag with the corner snipped off. It's way faster than spooning everything in and keeps the edges of the peppers clean.
A rimmed baking sheet is a must. If you use a flat tray, the cheese that bubbles over will just run off the edge and burn on your oven floor. Line it with parchment paper if you hate scrubbing pans.
Step-by-step Stuffing Guide
Let's get these moving. Remember to keep your cream cheese at room temperature, or you'll end up with lumps in your filling.
- Slice each mini pepper in half lengthwise. Note: This provides a stable base so they don't roll.
- Use a small spoon to scrape out the seeds and white membranes until the interior is a clean, smooth cavity.
- Pat the insides dry with a paper towel. Wait until they are completely dry to avoid sogginess.
- In a mixing bowl, combine the softened cream cheese, Greek yogurt, shredded cheese, and garlic powder.
- Stir the mixture until it is completely smooth and uniform with no lumps of cream cheese.
- Spoon or pipe the mixture into each pepper half, filling it to the brim.
- Top each pepper with a sprinkle of Parmesan.
- Add a dusting of smoked paprika over the cheese.
- Bake at 400°F (200°C) for 15–20 minutes until the peppers are tender and the cheese tops are golden brown.
Fixing Common Pepper Problems
Even with a simple recipe, things can go sideways. Usually, it comes down to water or temperature.
Troubleshooting Common Issues
| Issue | Solution |
|---|---|
| Why Your Peppers are Mushy | This happens when there's too much moisture. Either the peppers weren't dried after seeding, or the oven temperature was too low, causing the peppers to steam rather than roast. |
| Why the Filling Leaks | If your filling is too runny, it'll bubble over and slide out. This is usually because the cream cheese was too warm or you added too much yogurt. |
| Why the Cheese Isn't Browning | If your peppers are cooked but the top is pale, your oven might be running cold. You can pop them under the broiler for 60 seconds at the very end. |
Quick Success Checklist
- ✓ Peppers are patted dry inside and out
- ✓ Cream cheese is softened, not melted
- ✓ Oven is fully preheated to 400°F
- ✓ Filling is piped to the brim for better stability
- ✓ Peppers are spaced out on the baking sheet
Creative Twists and Scaling
If you're making these for a group, you might need to adjust the volume. When scaling up, don't just double the salt and garlic powder. Start with 1.5x the spices and taste the filling first.
For larger batches, work in two trays rather than crowding one. If you pack them too tight, they'll steam each other, and you'll lose that roasted snap. If you're making a double batch in the oven, lower the temp by 25°F and add about 5 minutes to the clock.
For those looking for more variety, these are great Stuffed Mini Peppers Kids love. You can try making them "protein packed" by mixing in some finely chopped cooked bacon or crumbled feta. If you want something even more kid friendly, use mild mozzarella instead of cheddar for a stretchier, milder taste.
For healthy stuffed mini peppers, swap the cheddar for a pinch of nutritional yeast or a low sodium cottage cheese blend. These are also fantastic as stuffed peppers for toddlers since they are easy to chew. If you're looking for other veggie heavy appetizers, these pair great with my Ground Beef Zucchini Boats.
Scaling Guidelines
- Half Batch: Use 6 oz peppers and 2 oz cream cheese. Reduce bake time by about 3-5 minutes.
- Double Batch: Use two baking sheets. Increase spices to 1.5x only. Bake at 375°F for 25 minutes.
- Mini Peppers Kids: Cut the peppers into smaller quarters for toddlers to make them easier to handle.
Storing and Reheating Tips
You can keep these in the fridge for about 3 to 4 days. Put them in an airtight container with a piece of parchment paper between layers so the cheese doesn't stick to the bottoms of the peppers.
For reheating, avoid the microwave if you can. Microwaves make the peppers rubbery and the cheese oily. Instead, put them back in the oven or a toaster oven at 350°F for about 5-8 minutes. This brings back the crispness of the pepper skin.
I don't recommend freezing these. The Greek yogurt and cream cheese can separate when thawed, leaving you with a watery mess inside the pepper. It's better to freeze the filling separately and stuff fresh peppers when you're ready to bake.
To avoid waste, don't throw away the pepper stems and seeds. If you have enough of them, you can toss them in a pan with some oil and salt to make a quick, charred pepper garnish for other dishes.
Serving and Plating Ideas
Since these are so colorful, you don't need much to make them look great. I like to serve them on a dark slate platter to make the reds, oranges, and yellows pop.
For a full appetizer spread, these look brilliant next to some Antipasto Skewers. The saltiness of the olives and salami balances the sweetness of the roasted peppers perfectly.
If you're serving these for a brunch, add a dollop of pesto or a drizzle of honey on top right after they come out of the oven. It adds a professional touch without any extra work.
Just make sure they cool for about 5 minutes before serving so the filling sets, otherwise, they'll be a bit too messy to eat with your fingers.
Recipe FAQs
How to prevent the peppers from becoming mushy?
Pat the insides completely dry with a paper towel after seeding. Excess moisture creates steam in the oven, which softens the pepper skin too much. Ensure you bake at 400°F (200°C) to roast them properly.
Can I freeze these stuffed peppers for later?
No, freezing is not recommended. The Greek yogurt and cream cheese in the filling tend to separate upon thawing, leaving you with a watery texture.
Why is my cheese filling leaking out during baking?
Avoid over softening the cream cheese. If the filling is too warm or contains too much yogurt, it becomes runny and bubbles over the sides of the pepper.
How to reheat these without making them rubbery?
Bake them in an oven or toaster oven at 350°F for 5-8 minutes. This method restores the crispness of the pepper skin better than a microwave.
Is it true that I can use a microwave to reheat these without losing quality?
No, this is a common misconception. Microwaving often makes the pepper skins rubbery and causes the cheese to become oily.
How to prepare the peppers so they don't roll on the pan?
Slice each mini pepper in half lengthwise. This creates a flat, stable base that keeps the peppers in place while baking.
What are some good side dishes to serve with these?
Pair them with a savory protein. If you loved the garlic notes in this filling, see how those same flavors work in a garlic herb beef skillet.
Creamy Stuffed Mini Peppers

