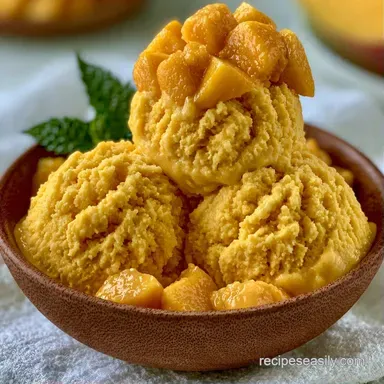
Mango Fruit Ice Cream in 15 Minutes
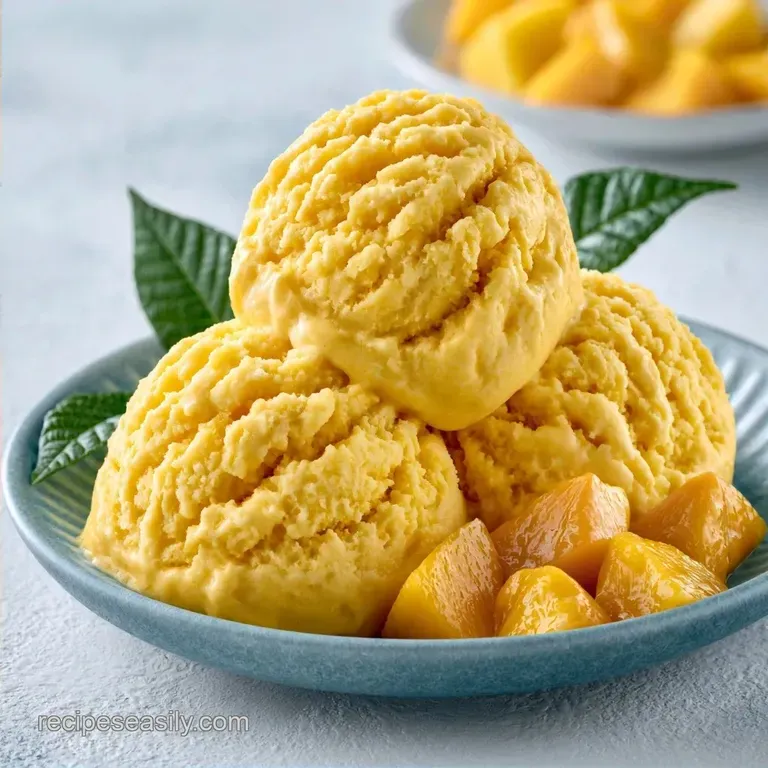
- Time:15 minutes active + 6 hours chilling
- Flavor/Texture Hook: Vibrant, tropical, and smooth
- Perfect for: Easy summer treats and beginner cooks
Mango Ice Cream
The smell of a perfectly ripe mango is something else. It's that heavy, floral sweetness that practically screams summer. I remember trying to make this for the first time and ending up with something that looked like a yellow brick. I had just frozen mango puree and cream together, thinking it would work. It didn't.
I actually had to let it thaw for twenty minutes just to get a scoop out of the container.
That's where I learned that air is just as important as the ingredients. You can't just freeze liquid and expect a scoopable texture. You need those tiny air bubbles to break up the ice crystals. Once I started whipping the cream first, everything changed.
This recipe focuses on the mango itself. If the fruit isn't ripe, the whole thing falls flat. I always look for mangoes that give slightly when pressed and have that intense aroma at the stem. Using a high-quality fruit makes this Mango Ice Cream feel like something from a fancy shop, but way less effort.
What Makes This So Good
- Natural Pectin: Mangoes have a lot of fiber and pectin. When we blend them into a smooth puree, these act as stabilizers that keep the mixture from getting too icy.
- Whipped Air: Beating the heavy cream creates a structure of tiny bubbles. These bubbles stay trapped in the mixture during freezing, which is why this Fruit Ice Cream stays scoopable.
- Honey Balance: Honey doesn't just add sweetness. It lowers the freezing point of the water in the fruit, preventing those crunchy ice shards from forming.
| Method | Time | Texture | Best For |
|---|---|---|---|
| No Churn | 6 hours | Airy & Soft | Busy weeknights |
| Churned | 4 hours | Dense & Smooth | Professional finish |
What You'll Need
I’ve discovered that the balance between fruit and fat is critical here. Excessive puree transforms the dessert into a sorbet, while too much cream masks the vibrant tropical flavor.
Ingredient Deep Dive
| Component | Purpose | Substitute Notes |
|---|---|---|
| Mango Puree | Primary taste and volume | Papaya: Works, but is less tart |
| Heavy Cream | Richness and aeration | Coconut cream: Vegan-friendly, slightly heavier |
| Honey | Sweetness and consistency | Maple syrup: Adds a woody undertone |
The Shopping List
- 2 cups (300g) fresh mango puree Why this? Establishes the tropical foundation and provides natural pectin.
- 2 tbsp (30ml) fresh lime juice Why this? Balances the richness of the cream with acidity.
- 1/4 cup (50g) honey Why this? Ensures the texture remains scoopable when frozen.
- 2 cups (480ml) heavy whipping cream, chilled Why this? Provides the air bubbles needed for lift.
- 1 tsp (5ml) vanilla extract Why this? Ties the fruit flavors together.
- 1g sea salt Why this? Intensifies the fruit's natural sweetness.
Equipment Needed
Basic equipment is all you need for this recipe. I typically use a regular blender and a hand mixer, though a stand mixer like a KitchenAid works perfectly well.
Ensure your mixing bowl is chilled. I personally place mine in the freezer for 10 minutes before starting, which helps the cream whip up more quickly and maintain its structure. You will also need a silicone spatula for the folding process.
Avoid using a whisk during the final stage, otherwise you'll deflate your Mango Ice Cream.
Lastly, pick a freezer-safe container. A metal loaf pan is a great choice because it cools down rapidly, but plastic is also fine. Just make sure you have some parchment paper ready to seal the top.
How to Make It
Right then, let's get into it. The goal here is to keep the mixture as light as possible while maintaining that bold fruit flavor.
- Place the mango chunks in a blender and process until completely smooth. Note: Ensure there are no lumps for a consistent feel.
- Stir the lime juice and honey into the mango puree.
- Pour the chilled heavy cream, vanilla, and salt into a cold bowl.
- Use an electric mixer on medium high speed to whip the cream until soft peaks form.
- Gently pour the mango puree into the whipped cream.
- Using a spatula, use a fold motion to combine. Note: Cut through the center and lift from the bottom to preserve air bubbles.
- Transfer the mixture into a freezer safe container.
- Smooth the top with your spatula.
- Press a piece of parchment paper directly onto the surface of the cream.
- Freeze for at least 6 hours until firm and set.
Avoiding Kitchen Disasters
It's easy to get a bit too enthusiastic with the mixer or the blender, but that's usually where things go wrong. If you've ever had a dessert that felt like a frozen block of ice, you've probably encountered the water to fat struggle.
Fixing Icy Texture
This usually happens if the mangoes were too watery or if the container wasn't sealed. To stop this, always use the parchment paper trick. According to Serious Eats, reducing the air gaps in a container helps prevent freezer burn and ice crystals.
Solving Bland Flavor
Sometimes mangoes just aren't as punchy as we want. If the taste feels muted, add an extra teaspoon of lime juice before you fold in the cream. The acid wakes up the fruit.
When Cream Turns Buttery
If you over whip the cream, it starts to look grainy and eventually turns into butter. If this happens, you can't really "un whip" it. Start over with fresh cream, but stop as soon as the peaks hold their shape without curling over.
| Problem | Fix |
|---|---|
| Too Hard to Scoop | Let sit at room temp for 5 mins |
| Grainy Texture | Whip cream to soft peaks only |
| Bland Taste | Increase lime juice slightly |
Make It Your Own
Once you've nailed the base, you can even turn this into a different kind of fruit ice cream by swapping the mango for peaches or raspberries. Just keep the ratios the same.
For those who want a different tropical vibe, I highly recommend trying my Homemade Coconut Pound Cake as a side. The nutty coconut flavor pairs beautifully with the acidity of the mango.
If you're feeling adventurous, try adding a pinch of chili powder or a dash of tajin to the puree. It gives the Mango Ice Cream a spicy kick that's really popular in Asian desserts. You could also stir in some fresh diced mango pieces right before freezing for a bit of texture.
For a richer treat, you might like the density of my Best Homemade Chocolate Cake, though this mango version is definitely the fresher choice for a hot day.
Decision Shortcut
- For a firmer set: Freeze for 8 hours instead of 6.
- For a tangier taste: Increase lime juice to 3 tbsp.
- For a sweeter finish: Add an extra tbsp of honey.
Make-ahead and Leftover Tips
This Mango Ice Cream stays great in the freezer for about 2 weeks. Keep it in a container with a tight lid to stop it from picking up other freezer smells. If you notice a bit of frost on top, just scrape it off with a spoon before serving.
As for the leftovers, don't let your mango skins go to waste. I usually toss the peels and the pit into my compost bin. If you have extra puree left over from the blending step, you can freeze it in ice cube trays. These cubes are great for dropping into smoothies or stirring into yogurt for a quick breakfast.
If you're making this for a party, you can prepare the mixture and freeze it up to 3 days in advance. Just remember to take it out of the freezer about 5 to 10 minutes before you plan to serve it.
Serving Suggestions
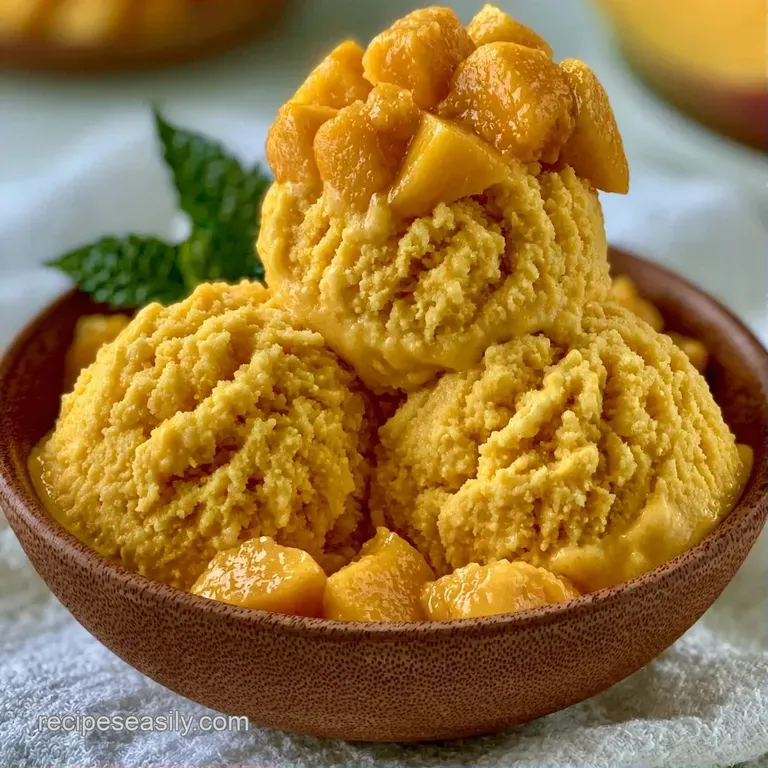
For the best results, serve this in a chilled bowl. To make it extra special, garnish with a few mint leaves and a sprinkle of toasted coconut flakes. The vibrant green of the mint looks beautiful against the bright yellow of the Mango Ice Cream.
You can also enjoy a scoop next to a warm slice of cake or some fresh berries. For an even richer treat, add a drizzle of melted dark chocolate; the chocolate's bitterness is a perfect match for the fruit and honey.
When serving a larger group, use a warmed ice cream scoop. Simply run it under hot water for a few seconds between servings. This makes scooping much easier and helps you achieve those clean, round balls of ice cream for a professional look.
Final Thoughts
Creating your own Mango Fruit Ice Cream is incredibly rewarding. You can control the amount of sugar and know exactly what goes into it, and the taste is far superior to store-bought versions. The effort of whipping the cream, whether by hand or with a mixer, is absolutely worth it. Now, let's get this treat into the freezer!
Recipe FAQs
Can I make this without an ice cream machine?
Yes, this is a no-churn recipe. It uses whipped cream to provide the air needed for a scoopable texture.
How to ensure the mango puree is completely smooth?
Process mango chunks in a blender until smooth. Then, stir in the lime juice and honey.
Is it true that I can skip the parchment paper layer?
Actually, no. Pressing parchment paper directly onto the surface prevents ice crystals from forming.
What is the best way to combine the puree and whipped cream?
Use a spatula to gently fold the puree into the cream. This method preserves the air bubbles that keep the dessert light.
How long does the ice cream need to freeze?
Freeze the container for at least 6 hours. This ensures the mixture sets completely for a perfect scoop.
Do stores like Costco carry this viral mango ice cream?
You won't find this exact recipe in stores because it is a homemade version. Making it yourself ensures you use the ripest fruit.
Why does this version stay so creamy?
Whipping heavy cream until soft peaks form introduces the air needed for a velvety texture. If you enjoyed learning this aeration method, you can also apply it to these easy homemade dinner rolls.
Mango Ice Cream for 8 Servings