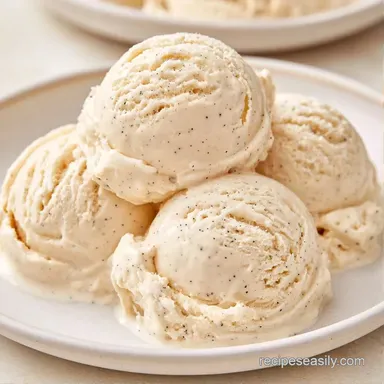
Creamy Ninja Creami Ice Cream Base
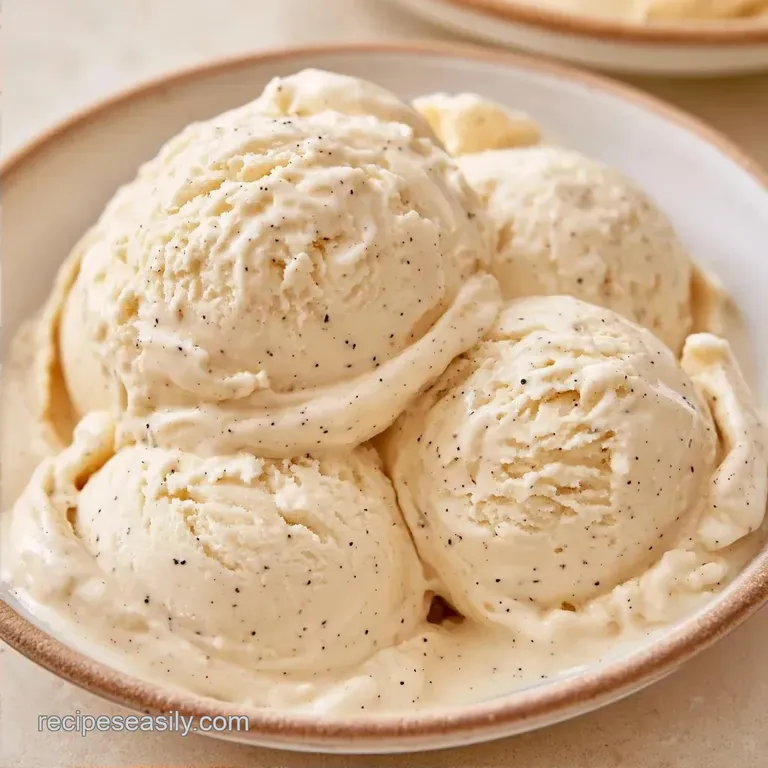
- Time: 5 min active + 24 hrs chilling
- Flavor/Texture Hook: Smooth, dense, and creamy
- Perfect for: Easy weeknight treats and dessert prep
Ever wonder why some home-made frozen treats feel like eating a flavored ice cube? I've spent too many nights scraping gritty, icy messes out of pints. It's frustrating when you want a treat and get a popsicle instead.
This version changes that. It's a reliable Ice Cream Base that actually feels like it came from a professional shop. You don't need a bunch of fancy tools, just a few staples and a bit of patience.
We're focusing on a mix that's light on calories but heavy on texture. You'll get that classic mouthfeel without the heavy weight of a traditional custard.
Easy Ninja Creami Ice Cream Base
Let's dive into the details. The aim is to prevent an icy, "snowy" texture and achieve a truly creamy result. A common mistake is using too much water based liquid, which simply turns into ice. By balancing the fats, we ensure the blade shaves the frozen mass into microscopic particles.
I've found that monk fruit keeps the profile light, but the condensed milk is the secret weapon. It adds a richness that stops the mixture from feeling too airy. Don't forget the salt, either; it brightens the vanilla and keeps the sweetness from being one-dimensional.
Nailing the Texture
- Fat Balance: Combining whole milk and heavy cream ensures the blade glides smoothly, preventing a powdery texture.
- Sugar Density: Condensed milk and monk fruit reduce the freezing point, keeping the base from turning into a solid block of ice.
While a cooked custard provides a more indulgent experience, this raw blend is more practical for everyday use. Here is how the methods compare:
| Method | Effort | Texture |
|---|---|---|
| Cooked Custard | High (stovetop) | Dense and egg rich |
| Raw Mix | Low (no heat) | Clean and light |
The main difference lies in the richness. A cooked base is heavier, whereas this option is more refreshing. It serves as an ideal foundation for a Ninja Creami vanilla ice cream recipe.
Your Essential Ingredient List
I've kept this recipe straightforward. You likely already have most of these staples in your fridge. If you're looking for a lower calorie option, monk fruit is an excellent sugar replacement.
- 1.5 cups whole milk Why this? Provides the primary liquid base (Sub: Full fat oat milk)
- 0.5 cup heavy cream Why this? Delivers the fat required for a rich mouthfeel (Sub: Coconut cream)
- 1/3 cup monk fruit sweetener Why this? Sweetens the mix without adding many calories (Sub: Erythritol or sugar)
- 1 tsp vanilla bean paste Why this? Adds a deep flavor and authentic vanilla specks (Sub: Pure vanilla extract)
- 1/8 tsp fine sea salt Why this? Offsets the sweetness (Sub: Kosher salt)
- 2 tbsp sweetened condensed milk Why this? Gives it a dense, professional grade consistency (Sub: Maple syrup or honey)
Using sweetened condensed milk in a Ninja Creami base is the easiest way to achieve a thick result without using eggs. Avoid using low-fat milk here, as it often results in a grainier, icier texture.
Tools You Will Need
You don't need a professional kitchen, just a few basics. A handheld frother is a lifesaver for getting the sweetener to dissolve quickly. If you don't have one, a whisk works, though it takes a bit more elbow grease.
- Ninja Creami pint container
- Handheld milk frother or a sturdy whisk
- Mixing pitcher or a large measuring cup
- Measuring spoons and cups
Make sure your pint is completely clean and dry before you start. Any leftover water or residue can create weird ice crystals in your Creami Ice Cream Base.
Step by step Process
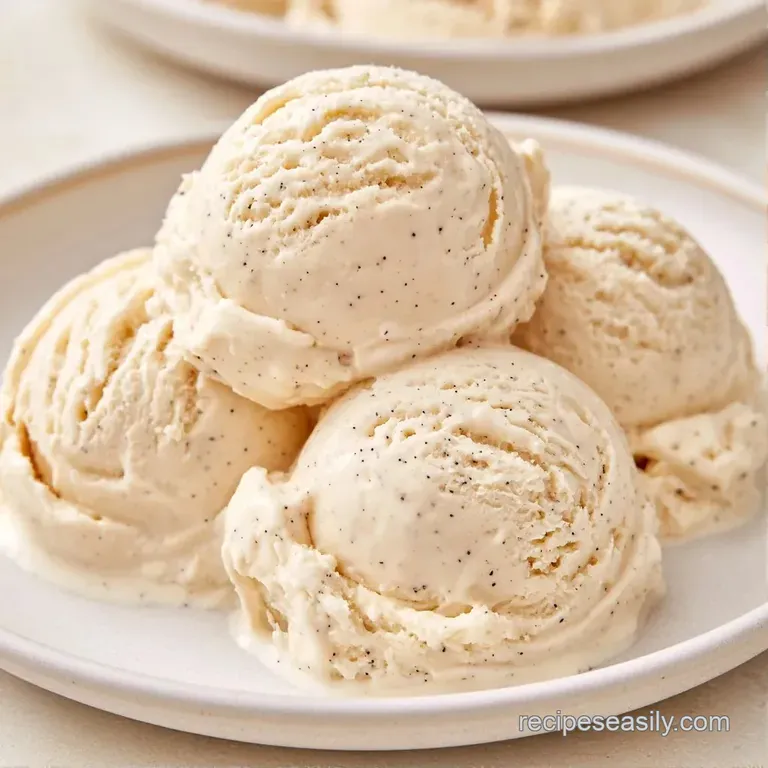
- Combine the milk, heavy cream, sweetener, vanilla, and salt in your mixing pitcher.
- Froth the mixture for about 60 seconds until the sweetener dissolves and it looks bubbly. Note: This prevents grainy spots in the final scoop.
- Stir in the sweetened condensed milk. Note: Adding this last helps it incorporate without over frothing the cream.
- Pour the mixture into the Ninja Creami pint. Stop before you hit the 'Max Fill' line.
- Secure the lid tightly and place the pint on a level surface in the freezer.
- Freeze for a full 24 hours until the top is rock solid.
- Lock the pint into the outer bowl and select the 'Ice Cream' setting.
- Check the texture. If it looks crumbly, add 1 tbsp of milk and run the 'Re Spin' cycle until a velvety sheen appears.
Fixing Common Texture Issues
Even when using a quality Homemade Ninja Creami base, you might encounter a few hiccups. Typically, these issues stem from the fat content or the temperature of the mix, but they are generally simple to resolve.
Solving Powdery Texture
This occurs when the base is overly cold or doesn't have sufficient fat, resulting in a texture like wet sand after the initial spin. To fix this, use the "Re Spin" function and add a small amount of milk to help the blades emulsify the ice crystals.
Managing the Center Bump
Your base may occasionally freeze with a raised dome in the center, which can potentially harm the blade. Simply use a spoon to level the top before placing the pint in the machine.
Eliminating Ice Crystals
Visible ice shards usually indicate that the sweetener wasn't fully dissolved. Ensure you froth your mixture until it is completely smooth. If your base is already frozen, running a second Re Spin typically fixes the texture.
If you're still having trouble with the consistency, try some of my other frozen desserts. For example, my [Cookie Dough Ice Cream](https://recipeseasily.com/recipes/cookie dough-ice-cream/) follows a similar approach but incorporates mix-ins to prevent ice buildup.
Creative Flavor Twists
The beauty of a basic Ice Cream Base is that you can change it up every week. Once you have the ratios down, you can go wild with the flavors.
For a chocolate version, whisk in 3 tbsp of cocoa powder and an extra tbsp of sweetener before freezing. If you want a fruity vibe, swirl in some jam after the first spin. You can also try a Ninja Creami ice cream base without cream cheese for a cleaner, more traditional vanilla taste.
Want something more indulgent? Try adding a pinch of espresso powder to the mix. It doesn't make it taste like coffee, but it makes the chocolate or vanilla flavors pop. This is a similar trick I use for my [Chocolate Cake](https://recipeseasily.com/recipes/best homemade-chocolate cake/).
Here is a quick guide for adjusting your goals:
| Goal | What to change |
|---|---|
| Richer taste | Add 1 tbsp cream |
| Less sweet | Reduce sweetener 10% |
| Thicker body | Add more condensed milk |
Storage and Freshness
Keep your processed ice cream in the freezer. Since this Easy Ninja Creami ice cream base doesn't have stabilizers, it can get hard again if it sits for a few days. If that happens, just run a Re Spin cycle to bring back the creaminess.
For storage, keep the lid tight to prevent freezer burn. It stays good for about 2 weeks in the freezer. If you're freezing the raw mix before spinning, 24 hours is the minimum, but it can stay in there for up to 3 days before you process it.
To avoid waste, if you have a bit of base left in the bottom of the pint, don't toss it. Pour it into a silicone mold to make mini ice pops for the kids.
Serving and Presentation
For the creamiest texture, it is best to serve this immediately after the Re Spin. I recommend scooping it into a chilled bowl to keep it from melting too quickly.
When serving guests, try adding a drizzle of honey or some fresh berries on top. Since this base is so neutral, it pairs beautifully with warm treats like a slice of cake or a fresh brownie. It's an easy way to elevate a simple dessert night.
Now you have a reliable Ice Cream Base ready to go. Just keep the 24-hour rule in mind, and you're all set. Let me know how yours turns out!
Recipe FAQs
What base ingredients work best for Ninja Creami?
A blend of whole milk, heavy cream, and sweetened condensed milk creates the best texture. These fats prevent the mixture from becoming a solid block of ice.
Is milk alone sufficient as a base for Ninja Creami?
Milk alone often results in a texture that is too icy. Adding heavy cream and sweetened condensed milk provides the necessary fat for a velvety finish.
How to prepare the ice cream base?
Combine milk, heavy cream, sweetener, vanilla, and salt in a pitcher. Froth for 60 seconds before stirring in the condensed milk and freezing for 24 hours.
Which components does the Ninja Creami use to create ice cream?
The machine uses a combination of high fat dairy and sweeteners to create a scoopable consistency. It shaves the frozen block into tiny crystals using the 'Ice Cream' setting.
Why is my homemade ice cream icy instead of creamy?
Use a high fat base and run a 'Re-Spin' cycle with one tablespoon of milk if the texture is crumbly. This process incorporates more air and smooths out the crystals.
Can this base be used in a traditional ice cream maker?
The high fat ratio ensures this mixture performs well in any machine. If you appreciate this creamy consistency, try a similar approach with our silky bars.
Where do I start when making an ice cream base?
Mix your liquid ingredients and sweeteners in a pitcher. Ensure the sweetener is fully dissolved with a whisk or frother to avoid graininess.
Is it true the simplest ice cream recipe is just milk and sugar?
False. A truly creamy result requires a fat source like heavy cream and a stabilizer like condensed milk to prevent ice crystals.
Ninja Creami Ice Cream Base