Creamy Salt and Straw Ice Cream Base
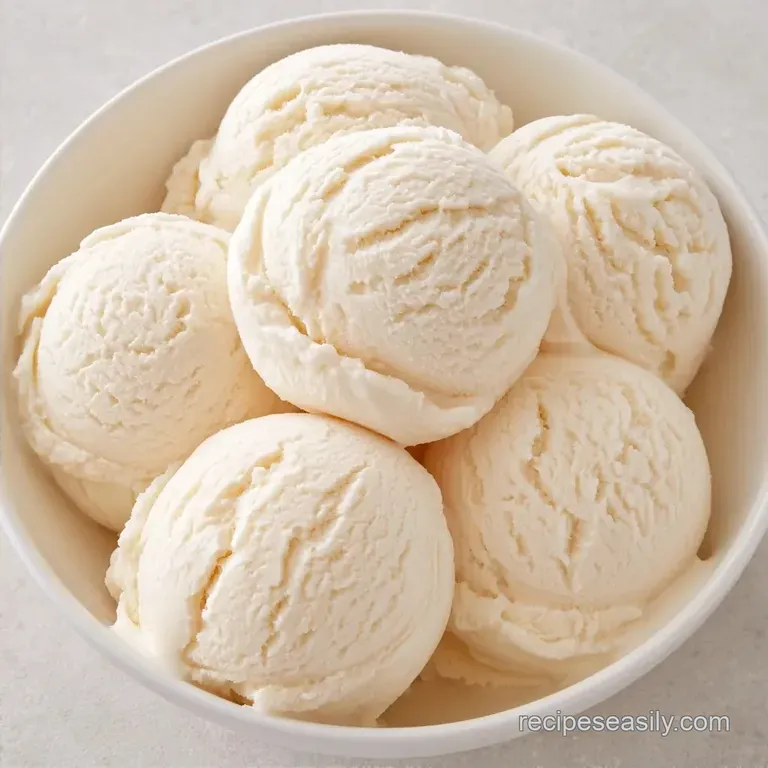
- Time: 10 min active + 4 hours chilling
- Flavor/Texture Hook: Dense and silky mouthfeel
- Perfect for: Busy weekends or beginner dessert makers
The sound of a churner humming in the kitchen is my favorite part of summer. There is something about that slow, steady rotation that promises a cold treat. I used to think you had to spend hours tempering eggs and whisking custards to get that professional density.
I thought the "pro" feel came from the cooking process.
But then I found out that milk powder is the real hero here. By adding those extra milk solids, you basically cheat the system. You get the richness of a cooked custard without ever turning on the burner. It changes everything because you aren't fighting with curdled eggs or burnt sugar.
This Ice Cream Base is designed for people who want a high-quality result but have a life outside the kitchen. We are focusing on a minimal tool approach. No fancy thermometers or double boilers. Just a whisk, a bowl, and a lot of patience while it chills.
Simple Homemade Ice Cream Base
Milk Solids: Adding milk powder soaks up extra water. This prevents large ice crystals from forming, which keeps the texture smooth.
Stabilization: A tiny bit of xanthan gum holds the fat and water together. It stops the mix from separating and gives it a heavier body.
Sugar Control: The corn syrup prevents the sugar from crystallizing. This ensures the final scoop doesn't feel grainy on your tongue.
| Feature | Traditional Custard | This Shortcut Base | Impact |
|---|---|---|---|
| Prep Time | 45-60 mins | 10 mins | Saves nearly an hour |
| Equipment | Pots, Whisk, Stove | Bowl, Whisk | Fewer dishes to wash |
| Texture | Rich, Eggy | Clean, Dense | More "pure" dairy taste |
The Essential Ingredients
The heavy cream provides the fat that makes the treat feel rich. I always use the highest fat percentage I can find because it helps the mix resist melting too quickly.
The whole milk balances that fat. If you use skim milk, you lose the mouthfeel. I've tried it, and it just feels thin.
Milk powder is the most important part of this Salt and Straw Ice Cream Base Recipe. It adds "non fat milk solids" which are essential for a professional structure. Without it, your homemade version might feel more like a frozen milkshake than a dense scoop.
Corn syrup might seem odd, but it's a classic trick. It creates a smoother texture by interfering with the way sugar crystals grow. It doesn't make the base taste like syrup, it just makes it feel more professional.
Basic Recipe Specs
For those who like numbers, here are the precision checkpoints for this mix.
First, the sugar and powder blend should be completely clump free before the milk hits. Second, the final chilled liquid should be around 38°F (3°C) before it goes into the machine.
Third, the churn time varies by machine, but look for the "soft serve" peak where the mixture holds its shape for 3 seconds before drooping.
Tools You Need
This recipe is simple enough for any home setup. A deep mixing bowl and a whisk are the primary essentials. I find that stainless steel works best as it chills faster in the fridge.
Using a fine mesh strainer is also recommended. If you encounter any xanthan gum clumps, pouring the mixture through a sieve is an easy solution.
Naturally, you'll need an ice cream maker. The method is identical regardless of whether you use a compressor model or a canister frozen for 24 hours. This Straw Ice Cream Base also works for the Ninja Creami, though you should stick to that machine's specific freeze and spin settings.
Step by step Process
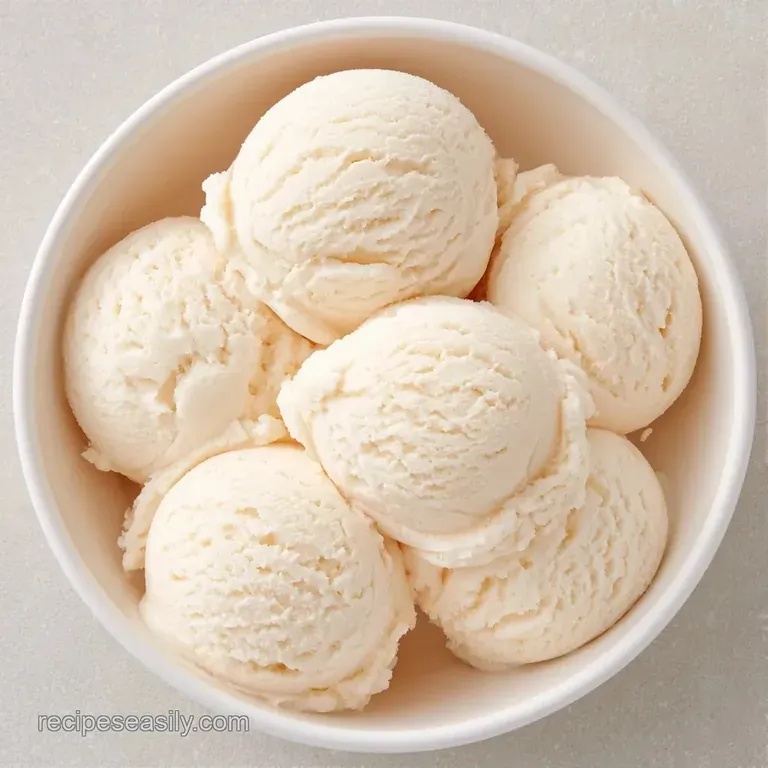
Phase 1: The Dry Blend
Whisk the granulated sugar, dry milk powder, and xanthan gum in a small bowl. Whisk for about 60 seconds until the powder is evenly distributed. This prevents the gum from forming gel balls when it hits the liquid.
Phase 2: The Emulsion
Pour the whole milk and light corn syrup into your large mixing bowl. Slowly whisk in the dry blend. Continue stirring until you no longer see sugar grains at the bottom of the bowl.
Phase 3: The Final Mix
Stir in the heavy cream. Whisk steadily until the mixture is one color and looks like a thick, pale cream. Do not over whisk or you'll create too many air bubbles.
Phase 4: The Deep Chill
Cover the bowl with plastic wrap. Refrigerate for 4 hours. Note: Chilling overnight is even better. The colder the Ice Cream Base is, the smaller the ice crystals will be.
Phase 5: The Churn
Pour the cold liquid into your ice cream maker. Churn according to your machine's guide until it reaches a soft serve consistency. It should look thick and hold a soft peak.
Fixing Texture Issues
The Base is Grainy
This usually happens if the sugar didn't fully dissolve during the mixing phase. If you notice grit, you can pour the mixture through a fine mesh sieve before chilling. For the next batch, whisk the sugar into the milk for an extra minute before adding the cream.
Ice Cream is Too Icy
Icy textures happen when the base isn't cold enough or contains too much water. Make sure your freezer bowl is frozen solid, usually 24 hours. If you're using a and Straw Ice Cream Base, ensure you didn't substitute the whole milk for a lower fat version.
Mixture is Too Thin
If the mix feels like milk rather than cream, check your xanthan gum measurement. A tiny bit goes a long way, but too little means the fat and water won't bind. You can whisk in a pinch more gum into a tablespoon of milk and stir it in, but it's easier to just churn it longer.
Storage and Waste
Store your finished treats in a shallow, freezer safe container. Press a piece of parchment paper or wax paper directly onto the surface of the ice cream before sealing the lid. This stops ice crystals from forming on top. It stays good for about 2 weeks, though it's best within 7 days.
To avoid waste, don't toss the leftover cream or milk in your fridge. If you have a bit of the Ice Cream Base left over but not enough to churn, use it as a rich creamer for your morning coffee.
If you have leftover xanthan gum, keep it in a tightly sealed jar in a cool, dry place. It's incredibly potent, so a small bottle will last you for years of dessert making.
Serving Your Treats
For the best experience, let the container sit on the counter for 3 to 5 minutes before scooping. This softens the edges and makes the texture more supple. Use a warm scoop dipped in hot water for those perfect, round spheres.
This treats pairs wonderfully with a warm brownie or a slice of coconut pound cake. The contrast of hot and cold is what makes it feel like a restaurant dessert.
If you're serving guests, try a "flight" of flavors. Scoop three different variations into small bowls and let everyone taste the differences.
Flavor Twist Ideas
The versatility of a neutral Ice Cream Base allows you to customize it into almost any flavor. For a traditional vanilla version, stir in two teaspoons of pure vanilla extract during the emulsion stage.
For a "Freckled" chocolate style: Fold in crushed cocoa nibs and mini chocolate chips during the final 2 minutes of churning. This creates a textured, salty sweet profile similar to a Salt and Straw Ice Cream Base.
For a Salted Honey twist: Whisk a pinch of sea salt and 3 tablespoons of wildflower honey into the mixture before chilling. The honey adds floral notes and ensures the ice cream stays supple in the freezer.
For the mix in lovers: If you're craving something indulgent, try folding in some cookie dough ice cream chunks. Just ensure your add-ins are frozen before stirring them in so they don't warm up the base.
The Vegan Option: You can create a Salt and Straw Vegan Ice Cream Base by replacing the dairy powder and milk/cream with coconut milk powder and full fat coconut milk. Since xanthan gum is plant based, it still provides the necessary structure.
For those using a Ninja Creami, the Salt and Straw Ice Cream Base Ninja Creami method is straightforward: freeze the pint for 24 hours, then select the "Ice Cream" or "Lite Ice Cream" program. If the texture is too crumbly, add a tablespoon of milk and use the "Re spin" function.
Now you have a professional quality foundation. Once you've mastered this process, feel free to experiment with peanut butter, fresh berries, or even a savory blend of sea salt and olive oil. Trust me, once you switch from store-bought, you'll never go back.
Recipe FAQs
What ingredients make the base stable and creamy?
Xanthan gum and light corn syrup provide the stability and creamy mouthfeel. They prevent large ice crystals from forming during the freezing process.
How long should I chill the base before churning?
Chill the base for at least 4 hours, though overnight is ideal. An ice-cold base incorporates more air for a smoother result.
Is it true you need professional stabilizers for a smooth texture?
Actually, no. A simple combination of xanthan gum and dry milk powder creates a professional consistency without needing specialty equipment.
Which toppings work best to turn this into a full dessert?
Pair a scoop of this base with fresh berries or a warm brownie. It also complements the rich flavors found in our cheesecake bars for a decadent platter.
Salt And Straw Ice Cream Base